If you’ve been a RH, formerly known as Restoration Hardware, fan for long, you’ve probably fallen in love with their gorgeous dining room tables. They have the perfect matte finish, and they elevate any room. But… if you’ve ever done some research before buying, you’ve probably stumbled across a horror story or two about those gorgeous finishes.
I’m going to tell you my own.
The Sad Story
See, I fell in love with RH tables long before I had any idea how to shop like an interior designer. I spent years lusting after its perfectly rustic and worn finish, and finally, it was time to make my first “big” home purchase. You guessed it – that table was finally going to be mine. I couldn’t wait for the delivery truck to arrive, and after it did, I think I spent most of the afternoon walking in circles around the table of my dreams, admiring every last detail.
When dinnertime came round, I laid out placemats and coasters, telling my family to enjoy their food carefully. I was taking no chances with my brand new table, and thankfully, dinner went off without a hitch. As we settled in to enjoy our evening, my daughter, a toddler at the time, strolled around the house holding a single red M&M.
I’m sure you can imagine what happened next.
Later in the evening, I walked by my beautiful, perfect table one last time to admire it when I saw a conspicuous red streak. Even worse, when I rushed to clean it off, I took that lovely rustic finish off right with it. I was devastated. Our perfect table had not even lasted a single day.
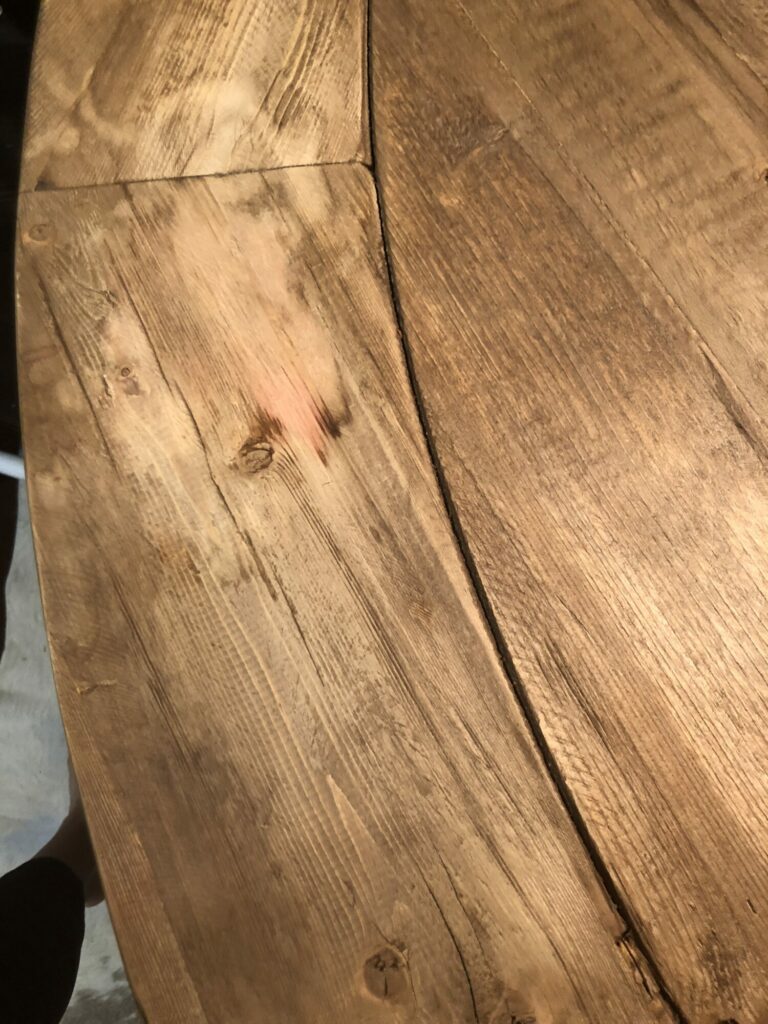
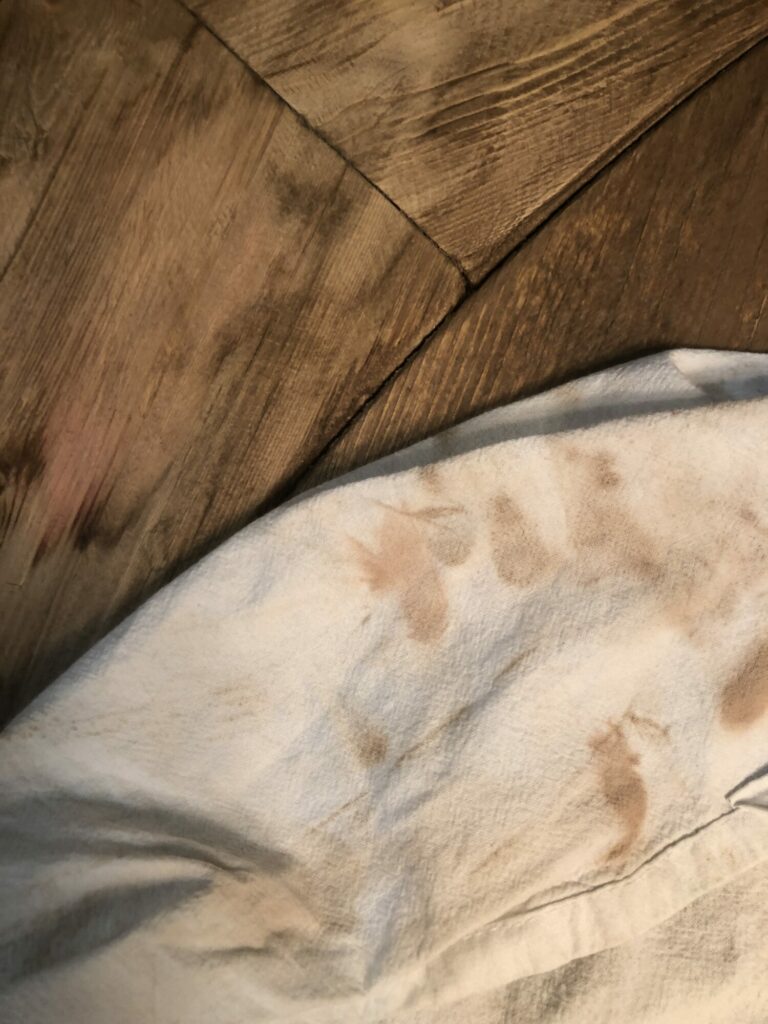
It was a heartbreaking lesson, but I sure learned it! When we replaced the table, I knew I had to find a better way to keep it as pristine as the models you find in RH showrooms across the country. It became my mission to learn how to make this beautiful table more than museum-worthy. It had to become life-worthy.
The Solution to Protect A RH Dining Table
First things first: do I think it’s a little ridiculous that buyers have to find a way to preserve their tables? Yes. But we all do crazy things for what we love, right? I would absolutely still recommend the table to anyone who’s prepared to put in the work to preserve it. But thankfully, this work didn’t turn out to be too hard.
If you’ve been eyeing a Restoration Hardware table, go ahead and add Modern Masters Dead Flat Varnish to your cart right now to protect it. Remember: our first table was destroyed by a tiny toddler with a tiny piece of chocolate on night one. Our second table, though, has been going strong for four years — and it’s all thanks to this incredible product.
Modern Masters Dead Flat Varnish is a faux finish. It’s a non-yellowing, water-based clear varnish that minimizes sheen, so you’ll still get the RH look you love. The very day our second table came in, we varnished it with 2-3 thin coats. The entire process only took about 30 minutes! And while it’s probably due for a quick reseal this summer, the table looks better now after four years than our first table did after four hours, so it’s absolutely worth the upkeep.
How to Protect Your RH, Farmhouse or Reclaimed Wood Table
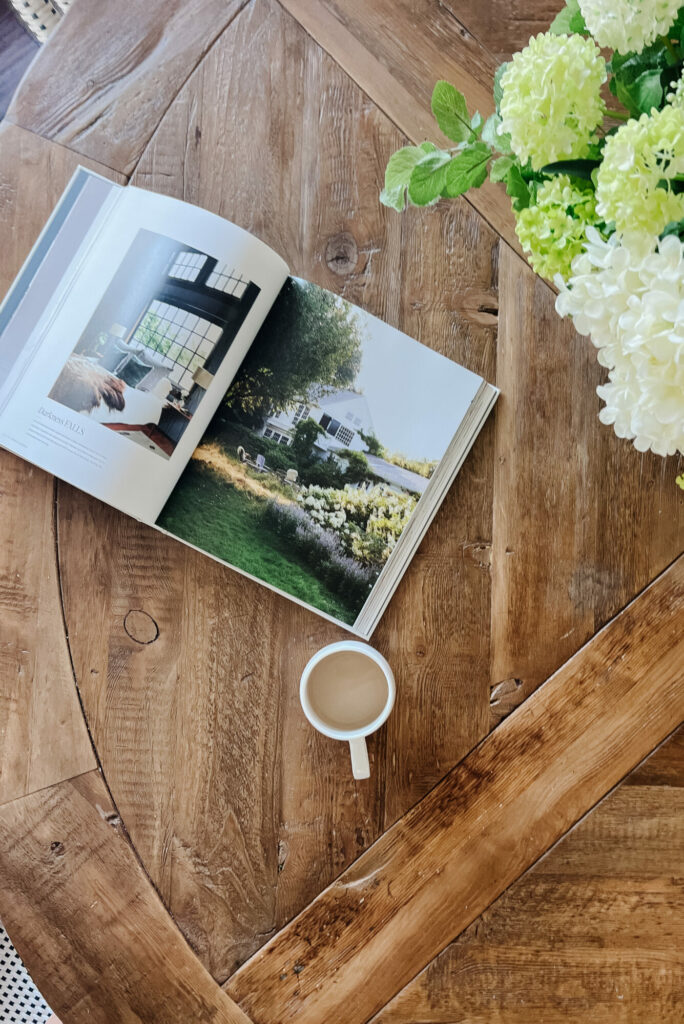
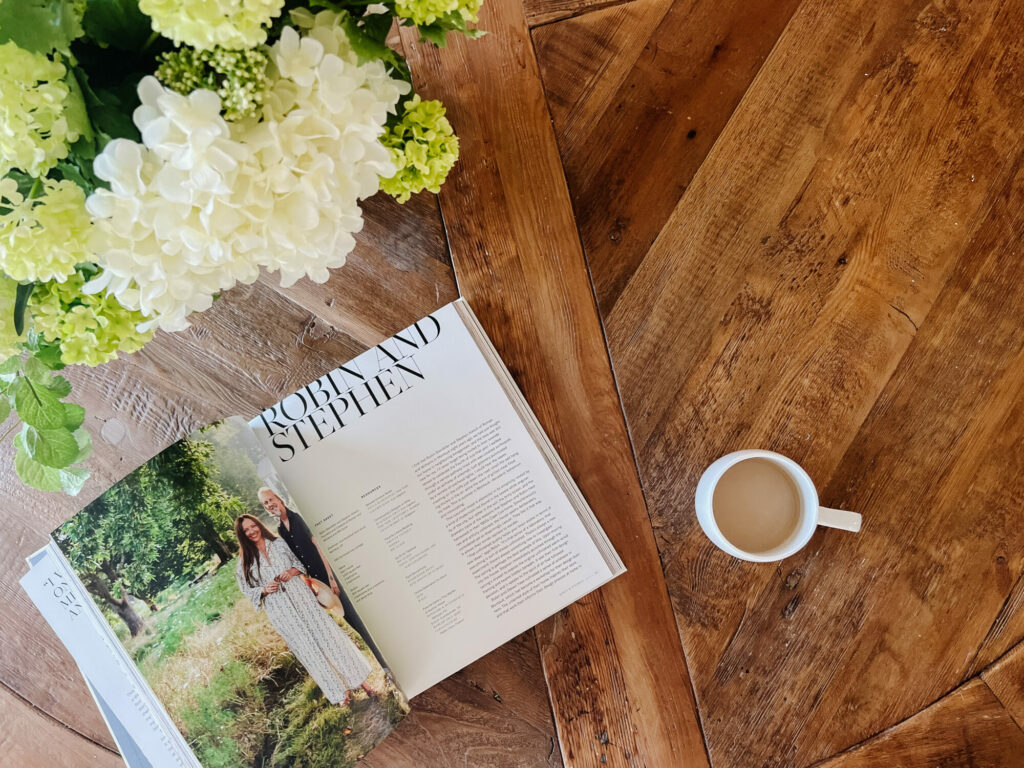
With Dead Flat Varnish, our table wipes clean easily. We use it every day, and in our house, spills are abundant. I’m thankful I don’t have to treat my everyday dining table as precious — although when my kids eat, I usually put a placemat down, but not for the reason you think. I’m not worried about spills seeping in, but the table is very textured, with lots of grooves and grain. The placemats keep me from incessantly wiping (and even vacuuming) crumbs from all of those little crevices.
Want to live as carefree as I do now? Grab your varnish and give yourself some piece of mind. Here’s how we did it.
-
Make sure the table is as clean as possible.
As I’ve mentioned, varnishing your table should be the very first thing you do when it arrives! Don’t take a chance on a few meals and wait until the weekend. Seal it ASAP — and remember, do not use a damp cloth to clean it. That will wipe the finish right off, and you’ll join me (and countless others online) in the collective sob story. If your table is already used, I would recommend a quick vacuum to ensure every groove is crumb-free.
-
Test the varnish in an inconspicuous spot.
I know this might seem excessive, but I don’t want you to take my word for it! Make sure that you are happy with the way this varnish looks once it’s dried before committing to the entire process.
-
Grab a good paint brush.
If you’re pleased with your test spots, use a good paint brush to apply a thin coat all over the table, and allow it to dry. Repeat for 1-2 more coats, allowing the table to dry completely between each coat. Be especially careful to let the table dry completely before use, too!
Commonly Asked Questions
I’ve posted about this process on Instagram in the past, and a few questions always come to the surface. I want everyone to enjoy their dining experiences at their own tables for years to come, so I’m rounding up all of those questions and answering them here!
Can I use this to protect a table from Pottery Barn, or another similar type of wood dining table?
Yes, you can! Just make sure to follow the steps mentioned above – especially step 2. I cannot vouch for how the varnish can affect the existing look and feel of your specific table, so I’d highly encourage you to sample it in an inconspicuous spot, like the underside of the table, first.
How often should the varnish be reapplied to protect your RH dining table?
If your dining table gets heavy use, I recommend resealing it every two years. We haven’t followed my own advice — it’s been about four years since our original varnish, and we need to reseal it soon. I’ve noticed recently that the places my side my kids eat are starting to show a bit of wear from excessive wiping, but it’s still looking great, all things considered.
Did you notice a big difference in the color?
I barely noticed any difference at all, actually, which is why I recommend this particular varnish. But again, I’d test it on the bottom side of the table before sealing the whole table. Better safe than sorry!
Did you only seal the top of your table, or the pedestal, too?
We only sealed the top and have had no issues with the pedestal, but it certainly wouldn’t hurt to seal the pedestal — especially if you have kids or pets who are prone to hide under there with things that may stain.
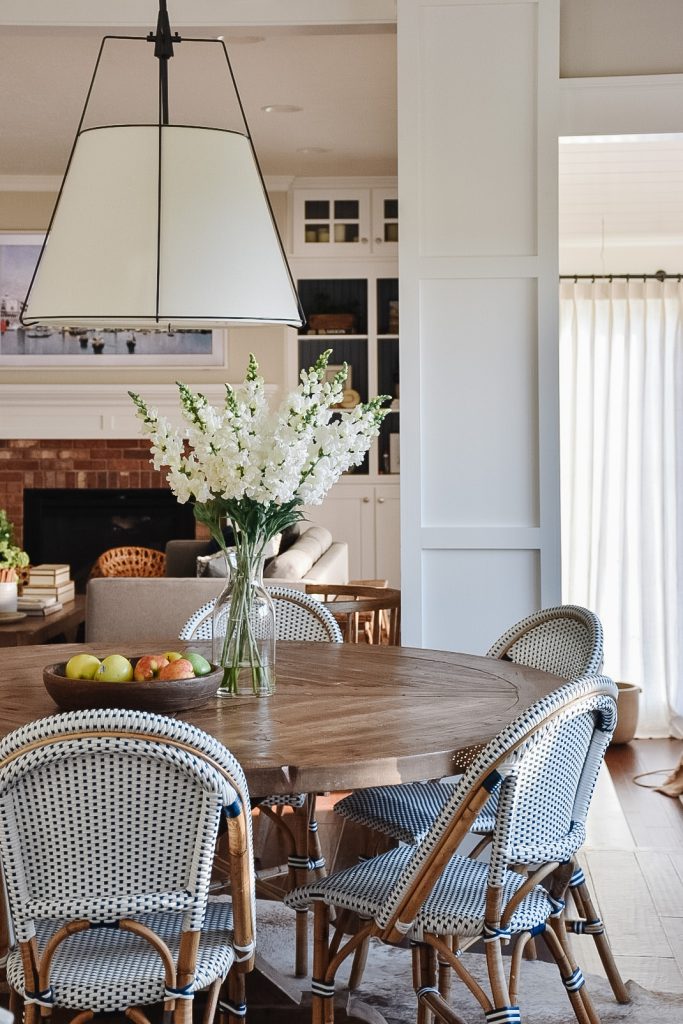
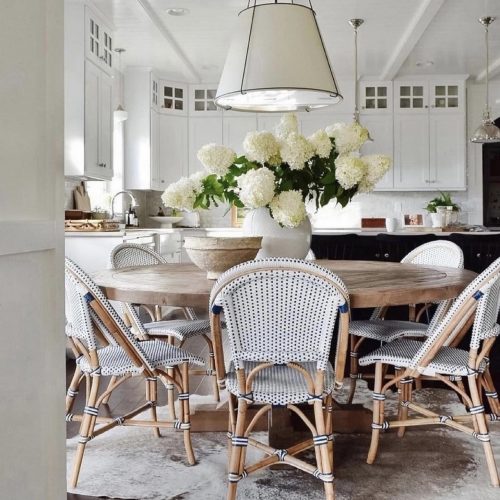
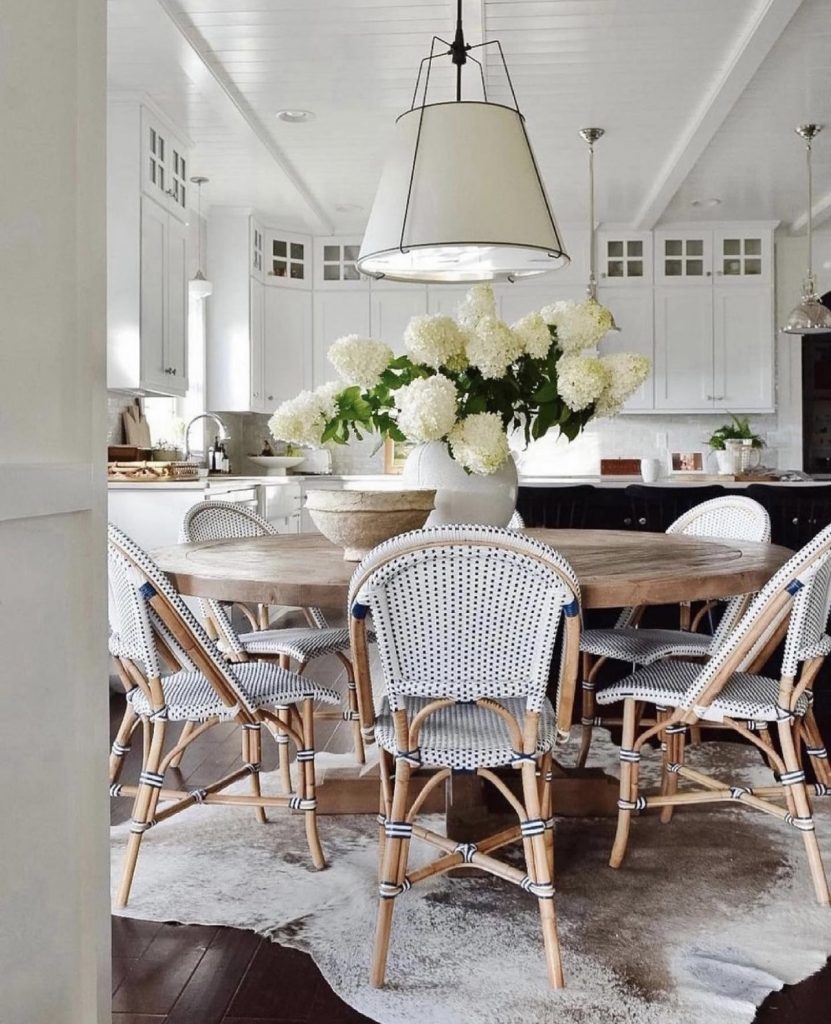
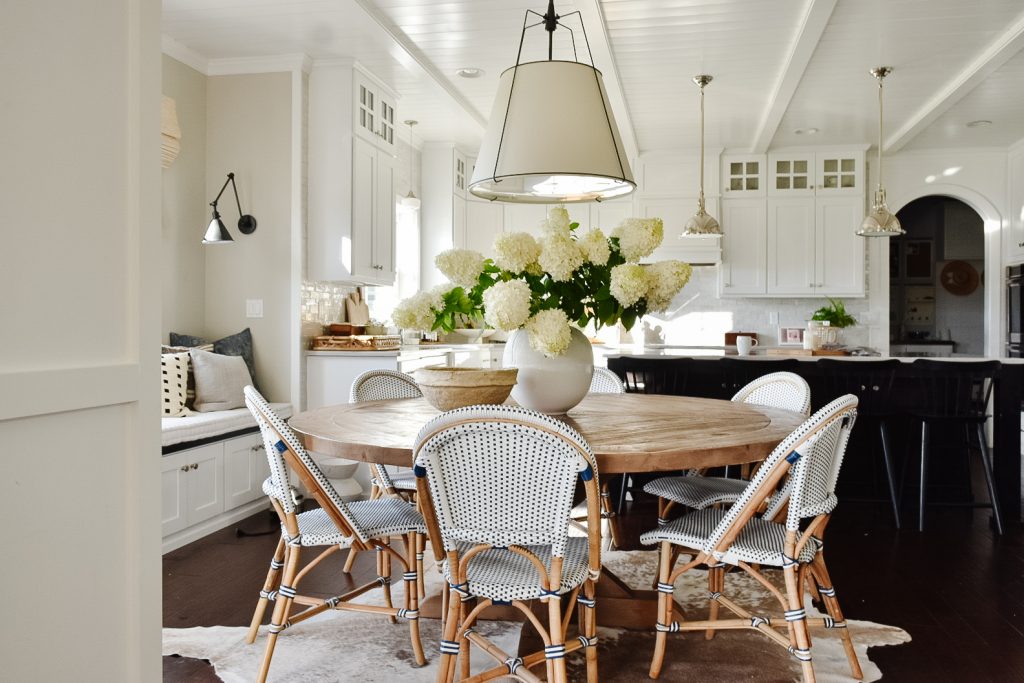
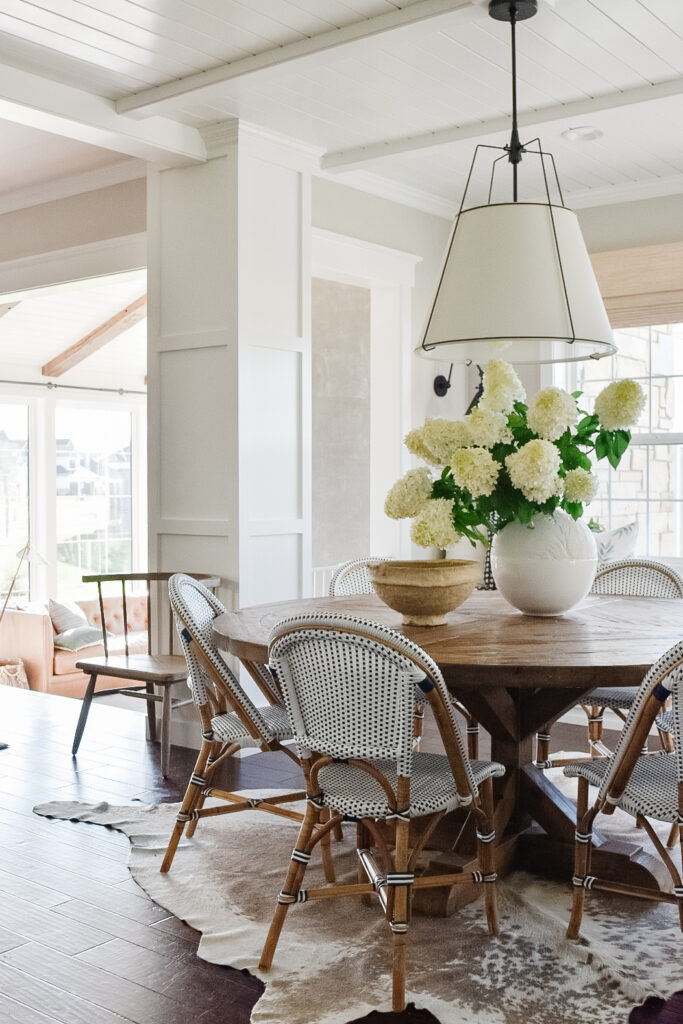
I hope this helps you preserve your Restoration Hardware table without the crisis that comes beforehand! We truly love this table, and I think the extra labor of love is well worth it. If you’d like to shop the table and everything else in my dining room, it’s just a click away!
How to Protect a RH (Restoration Hardware) Table
Supplies
- Modern Masters Dead Flat Varnish
- Paint Brush
Instructions
- Make sure the table is as clean as possible.
- Test the varnish in an inconspicuous spot.
- If you’re pleased with your test spots, use a good paint brush to apply a thin coat all over the table, and allow it to dry.
- Repeat for 1-2 more coats, allowing the table to dry completely between each coat.
- Let the table dry completely before use, then enjoy!
Notes
© Pretty Domesticated
More more interior design tips, check out these posts
Designing the Perfect Modern Coastal Dining Room with Serena & Lily
How to Keep Your Outdoor Furniture Clean
5 Tips for Updating a Traditional Bathroom
Ready, Set, Throw: How to Choose & Style Throw Pillows


Question about not wiping with a damp cloth….once we’ve done the varnish seal, can you still not wipe with a damp cloth? Or is that just before doing this process?
After doing the varnish you can absolutely wipe with a damp cloth! I still do so daily years later.
Thank you for this post! I have the RH Aero round table with black oak finish. It looks almost like black paint, but it scratches and gets grime in the creases. Do you think this product could work on that finish as well?
I think it would! I recommend testing it out on the underside of the table first. If you try it, please let us know how it goes!