
Over the years, answering your design questions on Instagram has become one of my favorite pastimes. Every time I open that question box, I see a few common topics I never expected — and one of them is, “How should I mix metal finishes and tones in my home?” It can be a tricky topic, for sure, but it’s absolutely gorgeous when it’s done right. So I decided it’s finally time for a tell-all here on the blog. Get ready for a sophisticated, classic look that you’re going to love.
Busting Some Common Myths about Mixing Metals
Always use the same metal throughout an entire room.
If you’ve ever been told that all of your metals should match, somebody lied to you. In fact, most designers believe that too much matching in a room leads to a bland, flat look. Mixed metals are a super easy way to create a layered and interesting look that designers love — and I think you will, too!

You can only mix metals in kitchens and bathrooms.
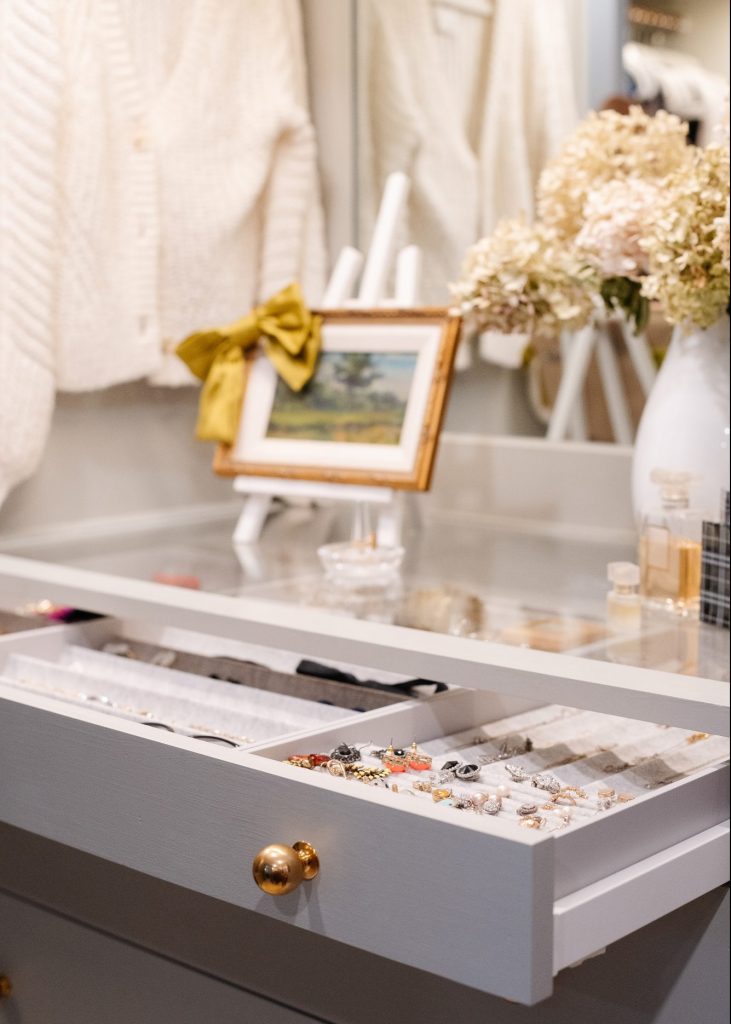
These two rooms may be the most obvious places to mix metals — think plumbing fixtures, cabinet hardware, light fixtures, and appliances — but they’re certainly not the only options. There are countless little details that make up any room, from picture frames to lighting to small pieces of decor on shelves or tables. Accents like these are a great way to add accent metals to bedrooms and living spaces.
Mixing metals in your home is an exact science.
Actually, there are no “rules” for which metals should be paired together, but stay tuned for some tips that will make your design choices easier. It’s absolutely fine, even encouraged, to play with warm and cool tones in the same space. But before we get into the design details, a quick disclaimer: don’t overthink it. Use what speaks to you, mixing tones and finishes that feel complementary and classic. The most important thing about your space is that you love and enjoy it!
A Quick Guide to Common Metals + Finishes
If mixing metals is new to you, these categories will help! When you’re choosing your metals, Consider the hues of the existing decor (or whatever you’ve planned on your mood board, if it’s a new space). For example, we’re using brass as our primary metal for our Belgian Treehouse project, because it pairs perfectly with the warm undertones found in the paint we chose and the home’s natural wood ceilings.
Metals By Tone
- Warm
- Brass
- Copper
- Gold
- Cool
- Aluminum
- Stainless steel
- Nickel
- Silver
- Pewter
- Chrome
- Neutral
- Cast iron
- Steel
- Matte black
- Any black metals
Metals By Finish
- Brushed: Brushing gives metal a distinctive look, as it retains some (but not all) of its luster and is given a pattern of very fine lines parallel to the brushing direction. This classic finish is a great foundation in just about any design, because it plays well with others.
- Polished: This super shiny finish has a mirror-like quality and a classic look you’ll often find in bathroom or traditional spaces. It’s used most on brass and silver metals.
- Satin: This finish lies perfectly between brushed and polished, offering a quiet but elegant quality. It works best with silver toned metals, and it’s a perfect choice when you’re looking for a subtle tone to complement something louder.
- Antiqued: If you want to get the patina without the time, antiqued metals are for you. This finish is manufactured to look like weathered metal from the Old World. It pairs well with moodier spaces.
- Hammered: This finish looks exactly how it sounds — like it’s been pounded all over with a hammer! It’s commonly seen on copper or pewter metals, and it typically goes best with rustic decor and homes.
My Favorite Finishes
- Unlaquered brass adds warmth and patinas beautifully over time. It’s commonly used in bathrooms and kitchens because it plays well with others, but tends to make a bold statement. I love to use brass on mirrors, light fixtures, faucets, and more, but our favorite way to use it is hardware, because I find it most impactful in a single large dose.
- Polished nickel is probably the most used metal in my designs. It’s elegant, but it hangs in the background and lets others shine. Its warm undertones make it a particularly good partner for brass, and it’s a popular choice for plumbing fixtures and lighting.
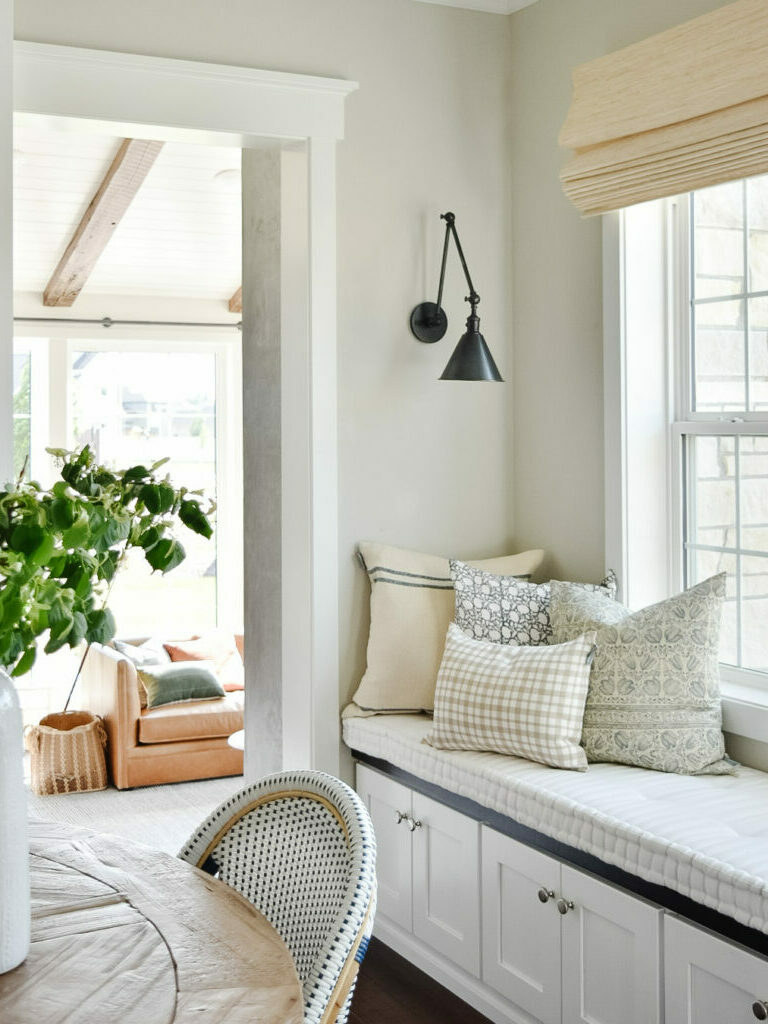
- Matte black works like a neutral, since it pairs well with any other finish. I like to use it in lighting and drapery hardware selections, but it works well for any hardware, or even plumbing fixtures in modern homes.
- Stainless steel might bring the kitchen to mind, but it works well in bathrooms too. It’s really versatile, so I use it when I need an easy pairing with another metal, cool or warm.
How to Mix Metals in Your Home
Time for what you’ve all been waiting for: the nitty gritty, “how-to” guide for metal mixing. I promise, with all the above information in hand, it’s actually super simple!
Step 1: Select your metals.
There’s no need to go overboard here — three or less is a good rule of thumb for any home. I’d consult the list above and choose two or three whose undertones work well together. For example, nickel’s warm undertones makes it a better partner for brass or gold than chrome would.
If you feel like breaking some rules, black metal is the way to do it. Black is considered a neutral finish, meaning it goes with both warm and cool tones. If I was ever planning to expand into 4 finishes on a project, black would certainly be one of them.
Step 2: Choose one dominant metal.
Mixing metals is almost never a 50/50 split. Instead, select one dominant metal and add in 1-2 accents that complement it well. Focus on what’s permanent first, like lighting and plumbing fixtures. You can mix in your complementary metals when you’re choosing smaller details later on in the process, like mirrors, cabinet hardware, or decor accents. Plumbing and light fixtures are much harder to change down the road, so you’ll want to make sure to get that one “right” first.
If you’re working with an entire house, your dominant metal should flow consistently through the entire home — but you can change your accent metals from room to room. For example, use the same metal for all of your door handles, but play with the hardware in specific spaces. In our Fargo home, we used polished nickel as our main metal, then played with brass and matte black accents through our hardware, decor and lighting selections.
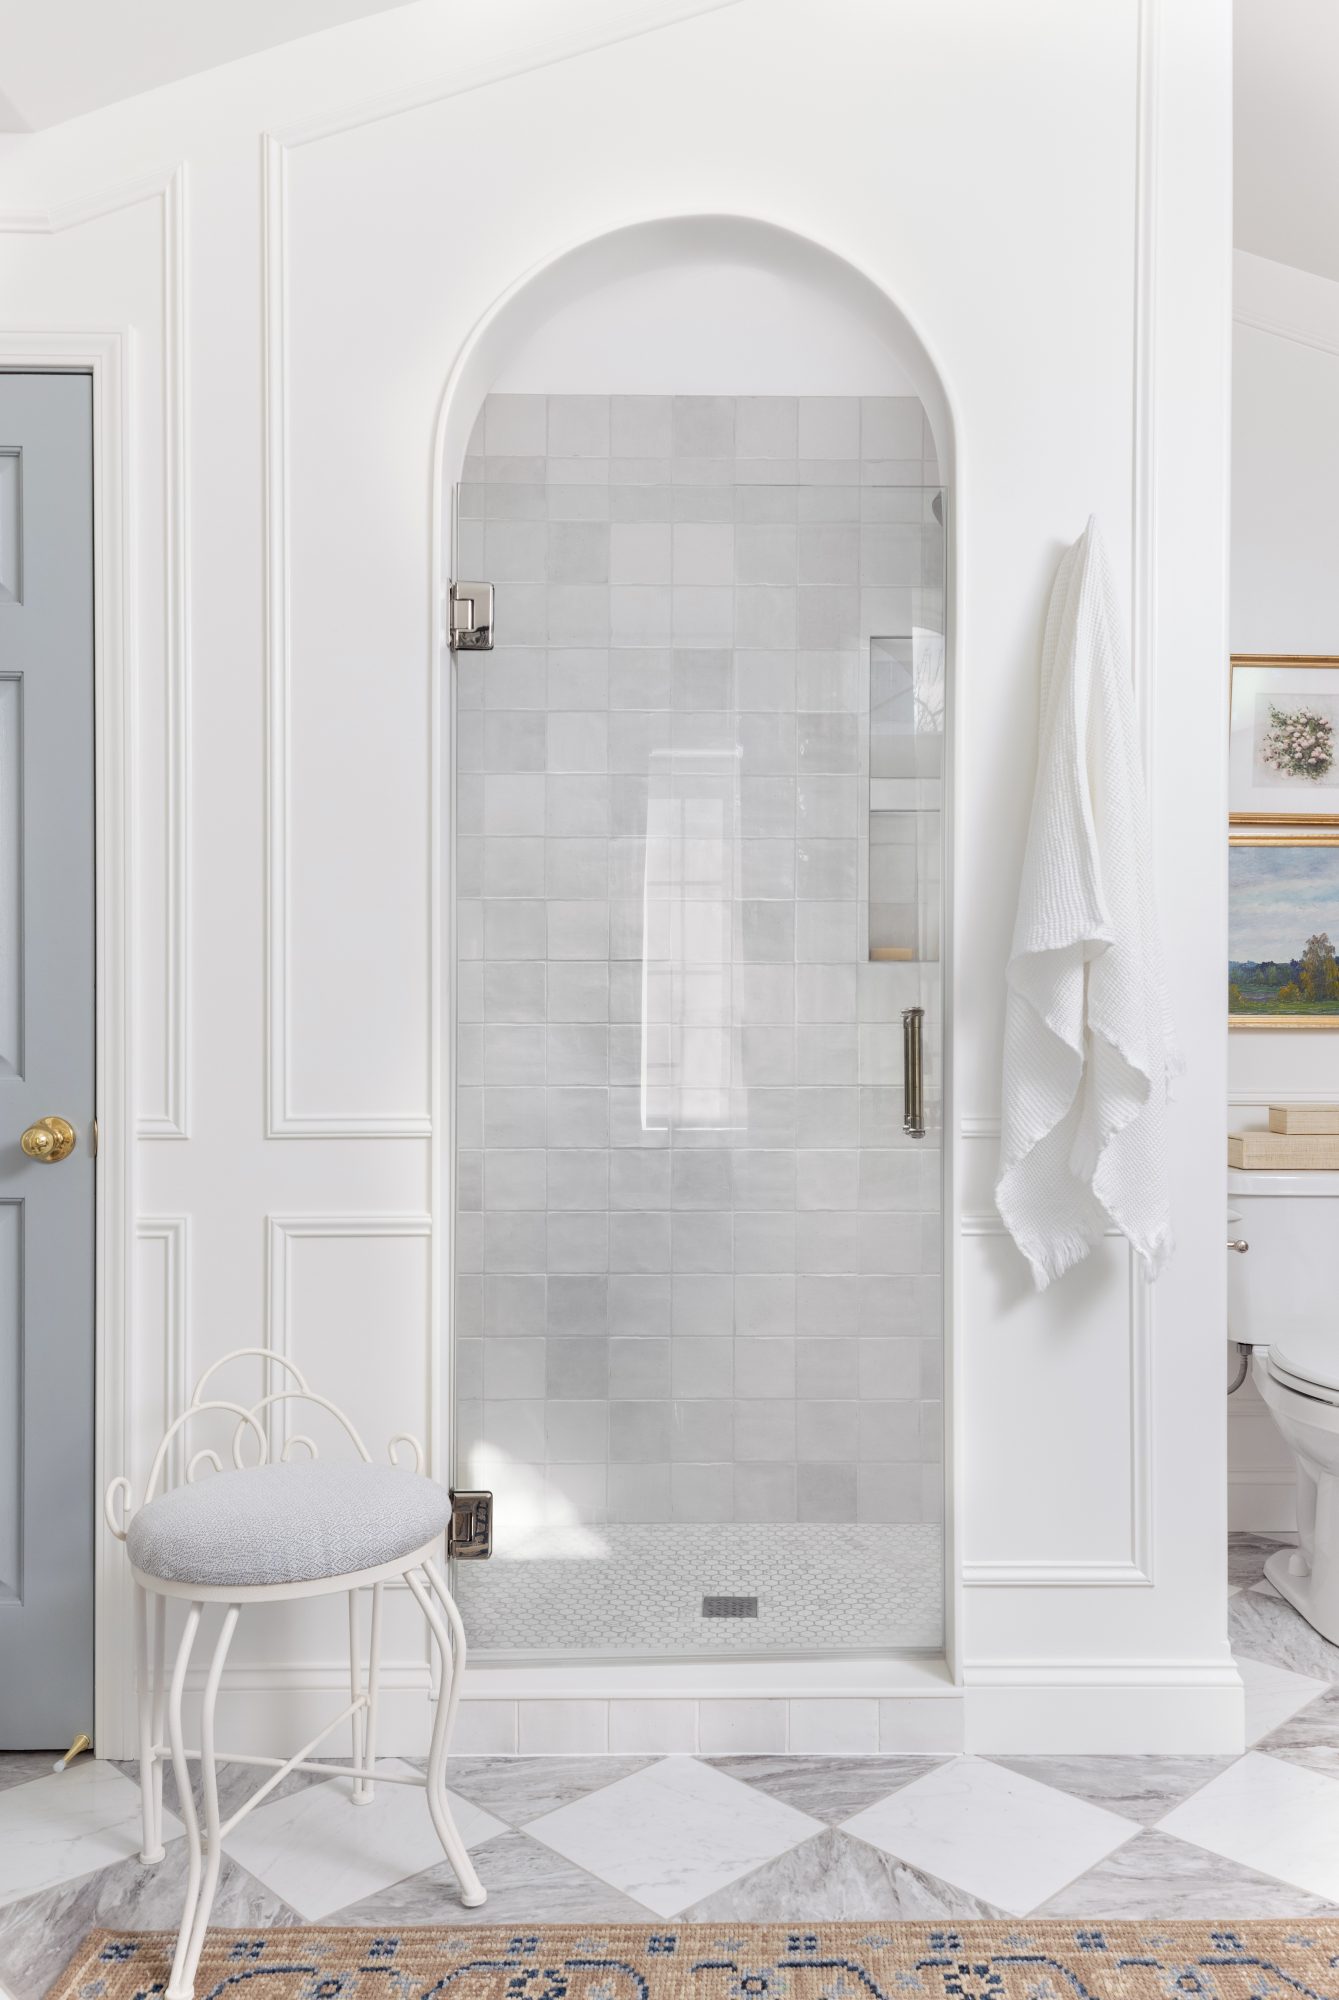
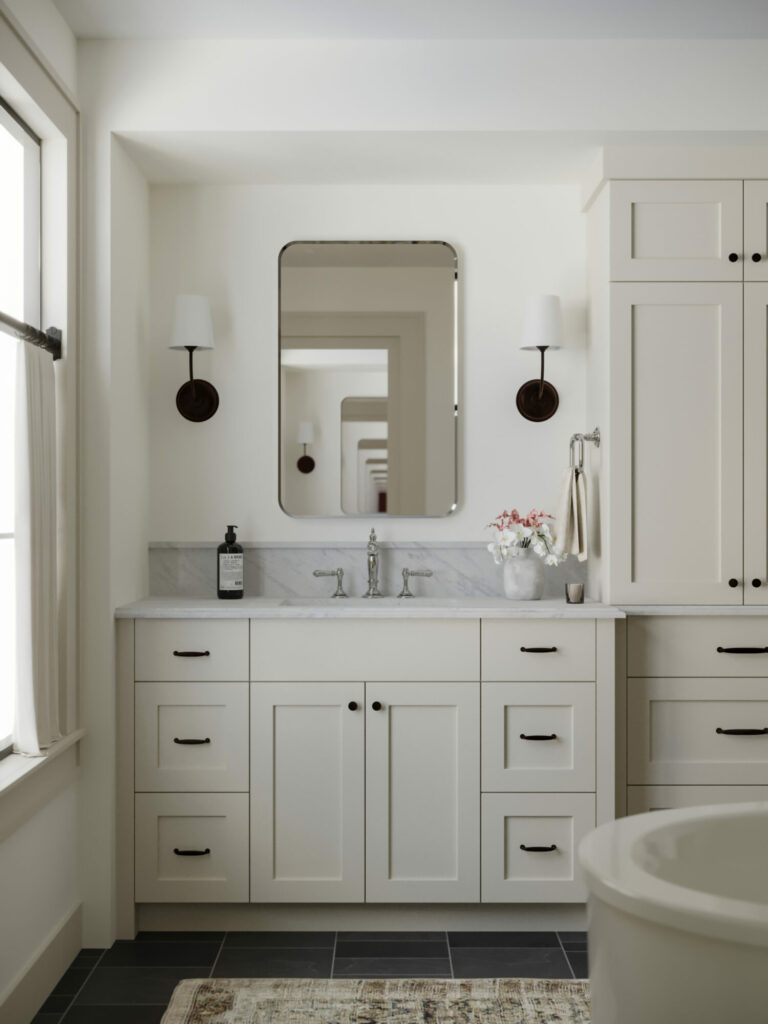
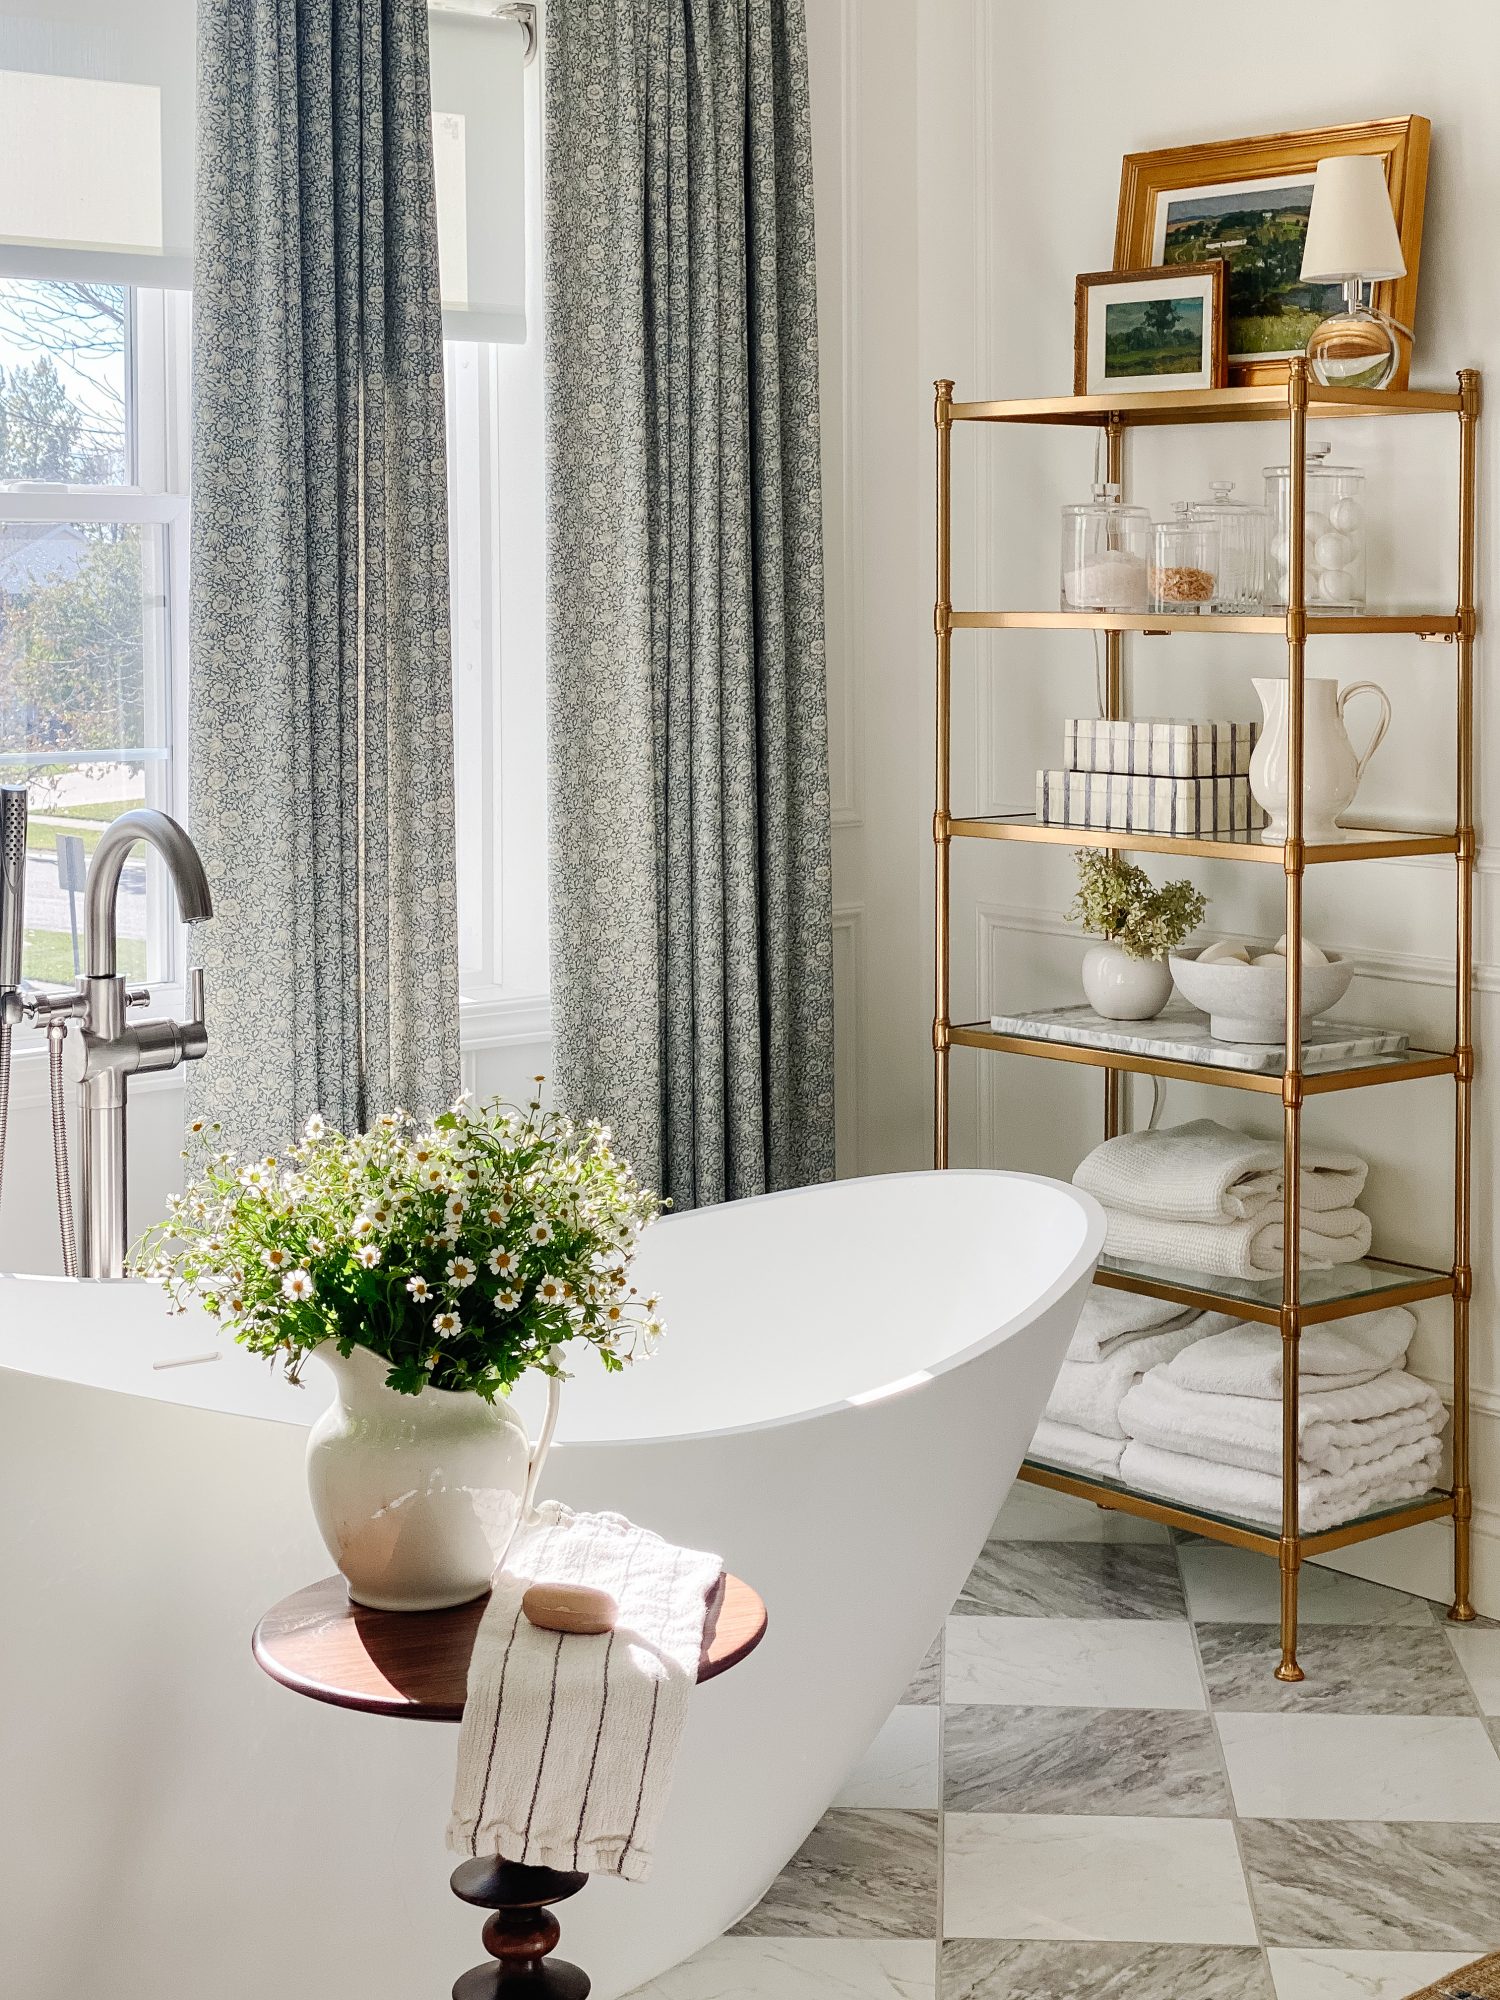
If you’re renovating a single room or space, the same “rule” applies — choose your star finish and let the other one or two play supporting roles. A quick note: Brass will usually become the star when used, even if it’s not the most used metal in the room. It has some serious “main character” energy. In our Bluemont Bath project, brass is the star, while polished nickel and stainless steel serve as supporting characters.
Step 3: Be strategic with placement.
There are a few different ways to mix your metals in your home, and none of them are random! Here are some of my favorite ideas:
- Separate your metals by height, so the same finishes and tones live on the same plane. In my designs, I’ll often use one metal for lighting fixtures and another for hardware and faucets to create a cohesive blend.
- Separate your metals by category, using one metal for faucets and another for mirrors. In our Bluemont Bath project, all the plumbing fixtures — including the faucets, shower head and tub filler — are stainless steel. All the hardware is polished nickel, while the lighting and decorative accents are brass.
- Separate your metals simply, like we did in our Fargo kitchen. Our finishes are all silver, with the exception of our island, which we recently updated to have unlacquered brass hardware.
Step 4: Create balance.
By spreading your dominant finish and tone throughout your home, you give your mixed metals some needed context, balancing the finishes and allowing them to work together throughout the home. The dominant metal in your home does not necessarily have to be the dominant metal in each room — but having it as one of the metals in every room creates continuity.
Remember, mixing metals isn’t limited to permanent fixtures! You can use decor to create balance and bring character too. In our Fargo home, brass fixtures are limited, while brass decor is abundant. As you select and style vases, countertop décor, and shelf accessories, keep that 3-metals-max guideline in mind.
More How-Tos
How to Keep Your Outdoor Furniture Clean
How to Choose & Style Throw Pillows
How to Protect your RH Dining Table (or An Unfinished Wood)
How to Choose Paint Colors for your Home Interior
2 thoughts on “Your No-Stress Guide for How to Mix Metals in Design”