
It is the most important day of the year in our household — E’s birthday!
To celebrate, instead of our usual Freestyle Friday post, we’re sharing one of our favorite DIY projects — an affordable, custom party dress fit for a princess.
I DIY’d a very similar dress for E’s first birthday last year. If E let’s me, I am going to do this every year for the foreseeable future. I love the results so much! It’s quick and easy, and looks straight out of an Etsy store.
Here’s what you need:
- Party Dress
- Iron On Transfer (We used Circuit Iron On in Glitter Gold, cheaper option here)
- Sharp Scissors (Find ours here)
- Permanent Marker
- Iron


Step One: Draw out your words on the transfer paper.
For E’s first birthday I just put “one.” This year I got a little more sassy and creative. E’s a bit spunky herself, so “I’m two cute!” is fitting. Last year having just her age was limiting for re-wearability. It was so obviously a birthday outfit. Putting a saying on the outfit will make it more wearable for our birthday girl year round.
The iron on transfer we used had a plastic overlay so we were able to use a permanent marker to color directly on the paper, without harming the glitter underneath. You can purchase the transfer we used here.
If you don’t like your own handwriting or simply don’t want to draw the word(s) out, you can print out the typography, use stickers, or use stencils.

Step Two: Cut out the word(s).
Since I did a saying, I drew and cut out “two” before starting on the rest of the phrase. I wanted “two” to be the most prominent word on the dress, so doing it before the other characters made it easier to balance the scale.
After I found a position on the dress where I like the “two,” I repeated steps one and two for the remainder of the phrase. This time making the words smaller.

Step Three: Lay out your design.
Make sure you like how your word or phrase looks on the dress before moving on to the next step! This is your last chance to make changes!

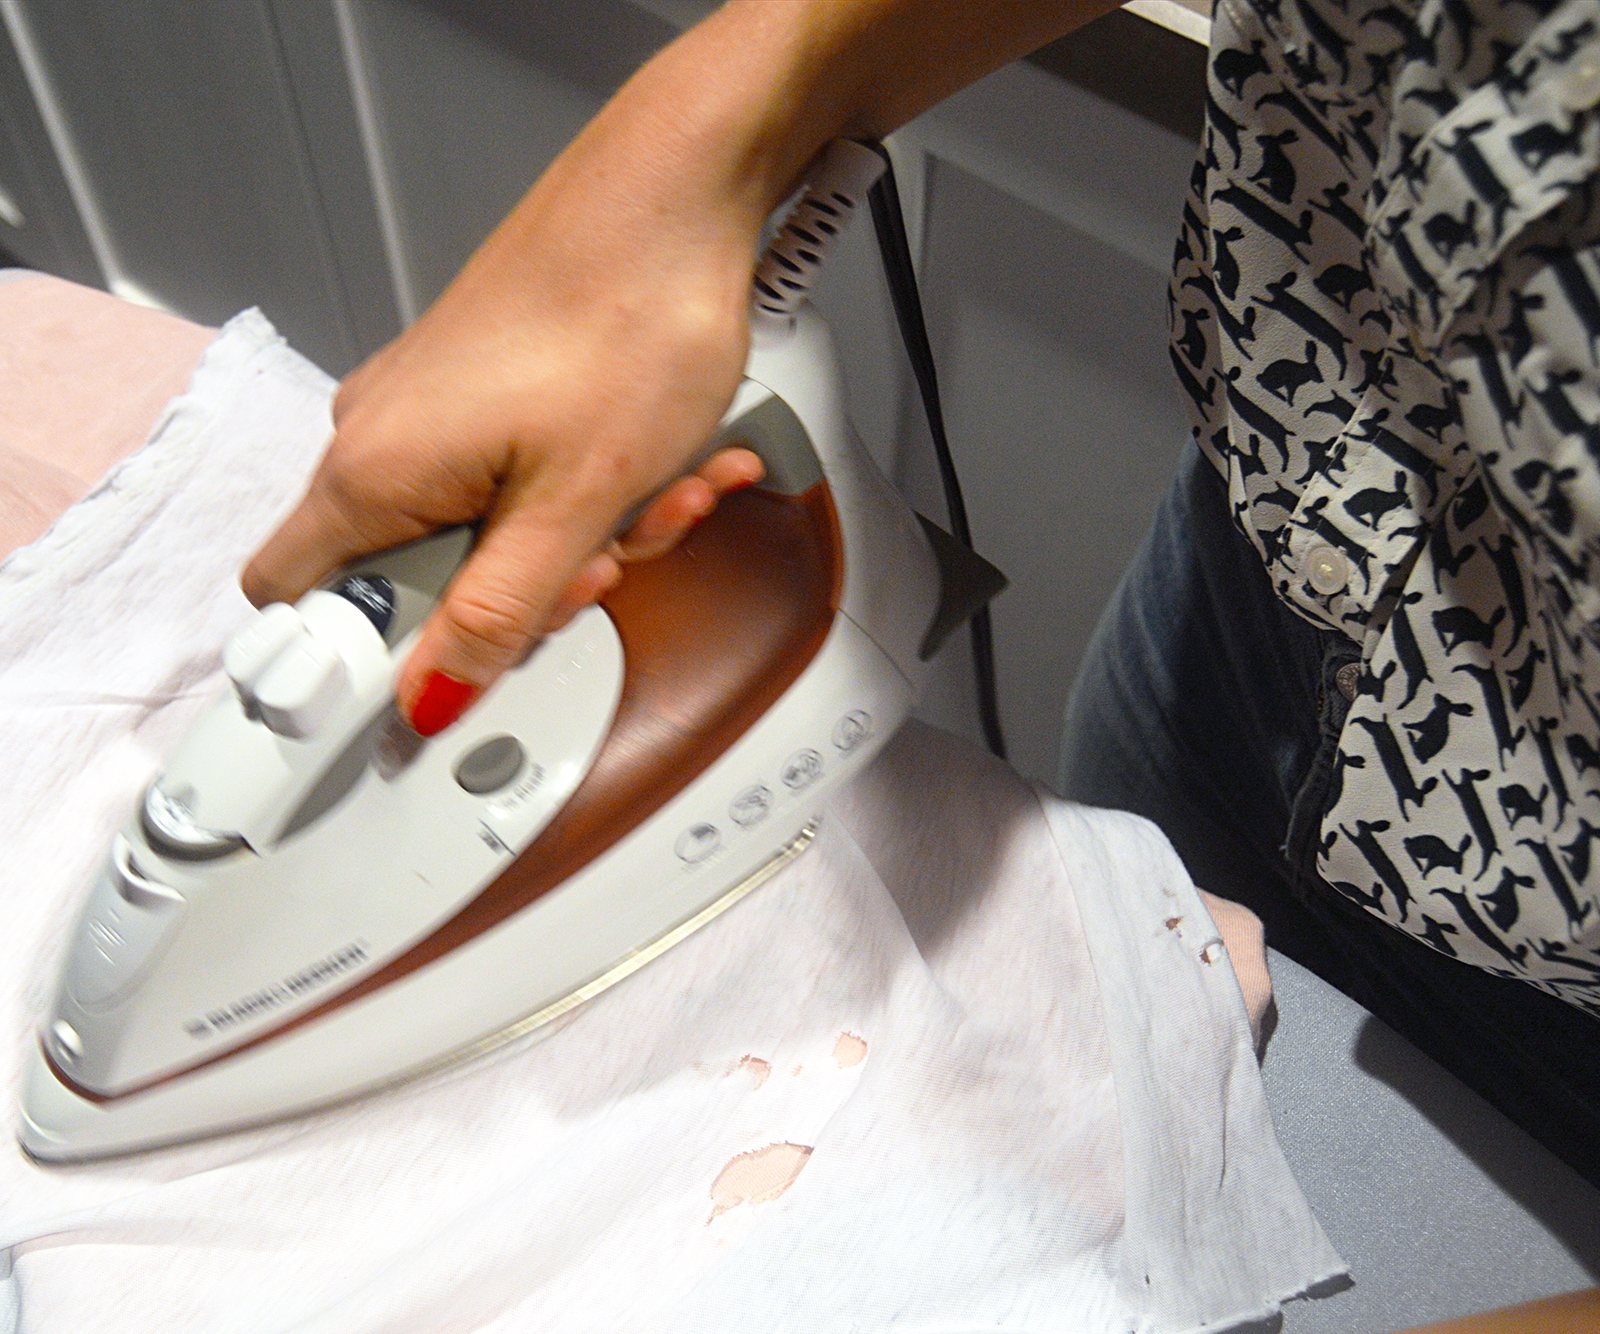
Step Four: Take the plastic off the word(s) and iron them on one-by-one.
I ironed each word on one-by-one, starting with “two.” After centering “two” on the dress, I placed a rag on top to avoid damaging the glitter. I pressed firmly on the appliqué, being careful to heat the entire surface area. Then I used the tip of the iron to trace the outline of the word.
Last year, the edges of the iron-on started to lightly peel after being washed. I’m hoping that because I diligently sealing the edges, the appliqué will hold longer this year.
I used the same ironing procedure to apply the rest of the phrase on one at a time. Then I used the iron to go over the entire phrase once more. I spent a lot of time with the iron this year, so those baby’s should be glued on tight!
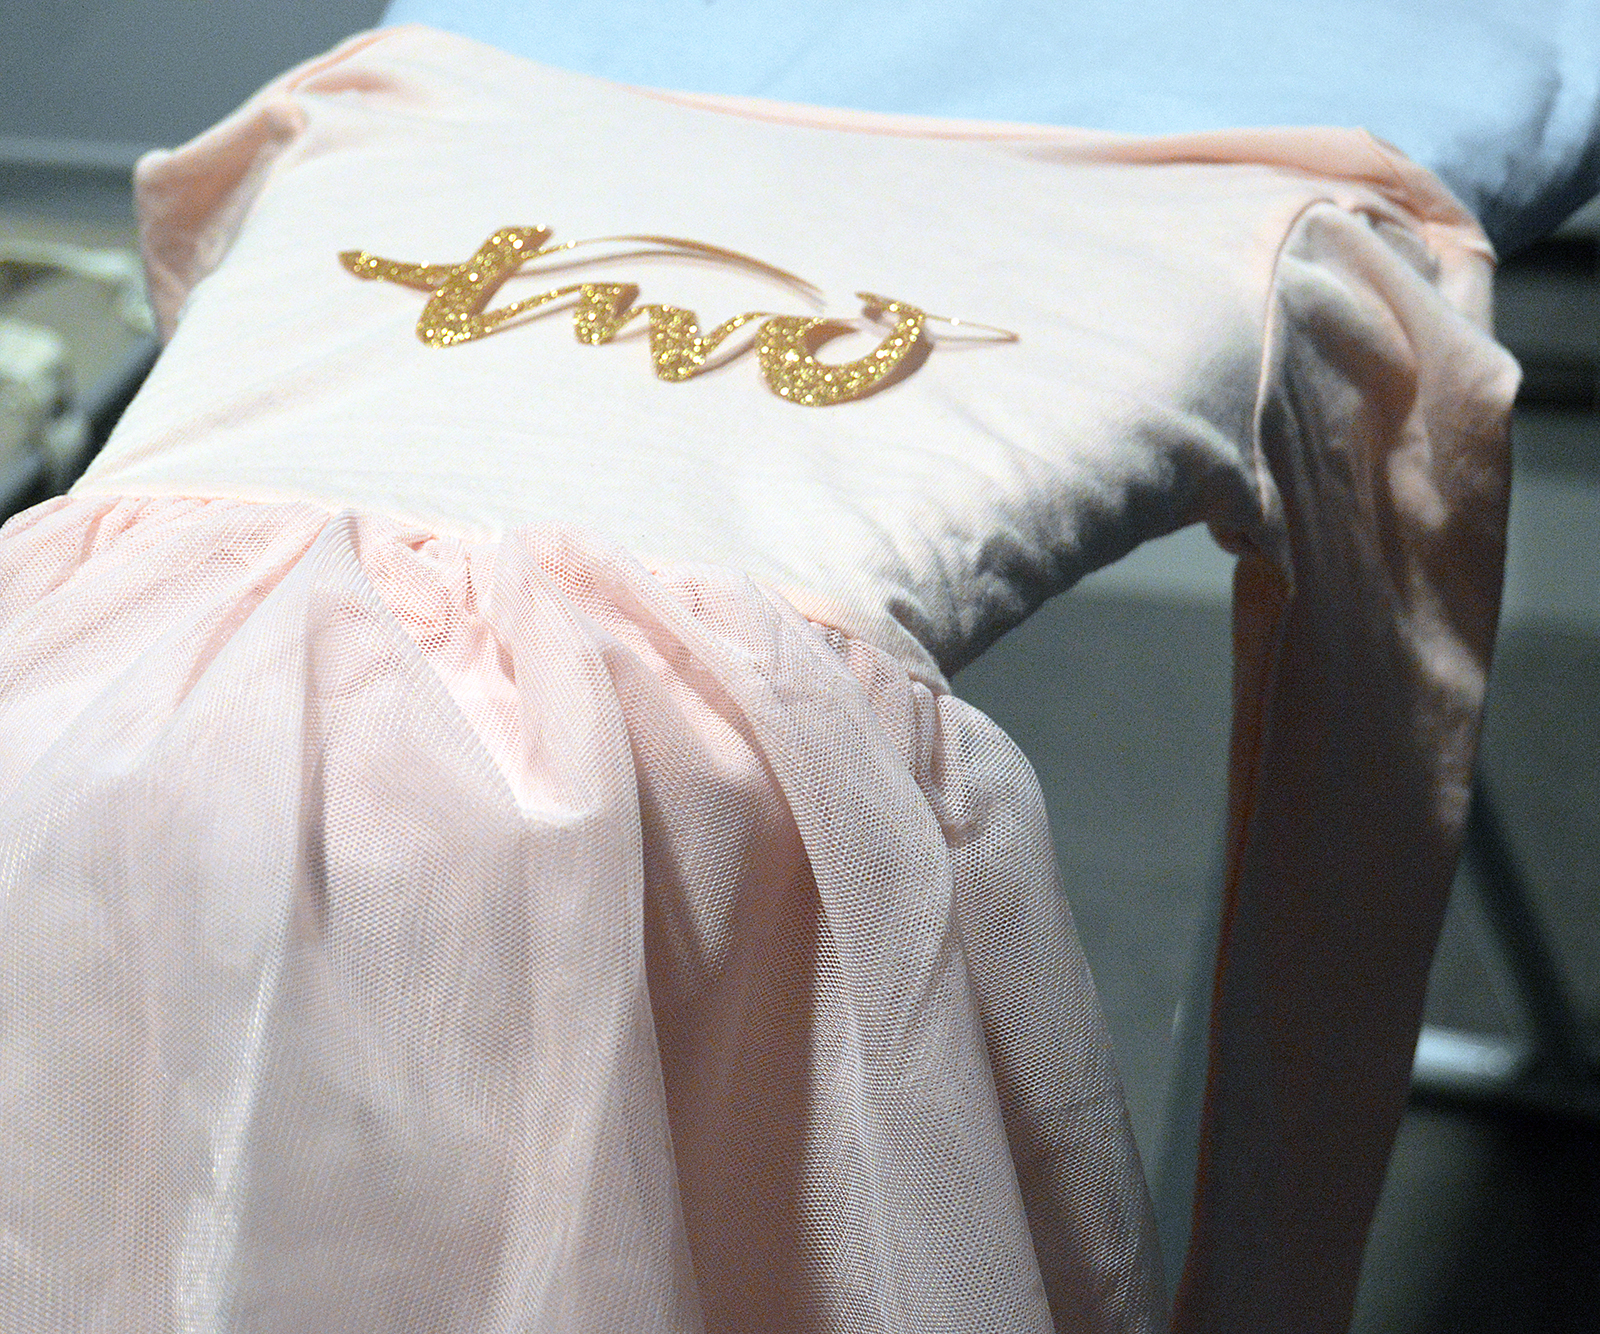


Step Five: Enjoy your sweet and sassy birthday dress!
E’s dress is hanging on her closet door ready to go! She is all about dresses that twirl, so even though she doesn’t understand the subtle genius (IMHO) of my decided phrase, she is almost as excited about this dress as Mommy is.
She will be wearing this dress today and for her Doc McStuffins’ party next weekend.

I will be sharing bits and pieces of our day on social media. You can follow us on Facebook here and Instagram here. But today is all about E! The house is decorated, and her presents are wrapped and sitting on the kitchen counter. I can’t wait to see her excitement!
I recycled most of last year’s decor, except the ridiculously time-consuming giant flower covered, number one. See it here. I still love it and am saving it in case I ever have another girl.
Have a toddler in your life that would love her own custom party dress? Share your dresses with us using #prettydomesticated.