Now Offering 1 hour Consultations
BOOK A TIME TODAY!

Design

Overcoming Indecision and Second Guessing

This post may contain affiliate links, please read my disclosure policy.

A big misconception about Daren and me is that we are naturally decisive. Because we run a blog about home design, and manage to complete house projects without ruining our marriage, people assume that when we come up with a plan, we stick to it and that the decisions along the way are easy. While we do have a knack for design, and Daren is incredibly handy, that is not always the case.

There is a reason this blog is called pretty domesticated and it’s not just because I think our house is pretty. It’s because for every day we have it pulled together, there is a day, or two, where our house and projects are a hot mess.

At the end of a project, are we happy with the results? Yes, but that doesn’t mean the process is smooth. We suffer from indecision and second-guessing with the best of them.

Here are a few of the things in the basement we have foolishly lost sleep over. (That’s a lie. Only I have lost sleep. Daren sleeps like a rock).

Excuse the terrible IPhone picture. This is the only photo I took with the beam temporarily in place.

The bar design. We planned our framing around a bar layout we ended up abandoning. Then we went from an all white kitchenette to a mis-matched white and navy bar.

On a related note, the beam in the bar has been a point of contention. During the planning stage, the rustic beam we designed the basement around moved position several times. First, it was going to be next to the bathroom wall, and then just in the ceiling. Then it was going to be at the end of the counter next to the arch, but we worried the walkway would be too constricted, and the whole idea was almost abandoned. After talking, analyzing, flip-flopping and talking some more, we decided to place it at the end of the island, with another beam across the ceiling. It’s been a process and they haven’t even been installed yet.

bunk-beds

The lighting. It took us 2 months to decide on lights for the bunk beds. We even asked you for advice. The kicker, the lights I selected aren’t either of the lights I blogged about.

playroom-cabinets

Shop Warby Parker Online

img_7475.jpg

The cabinet doors. Should the mirrored doors in the playroom area have one brace or grids? After the cabinet frames were installed, we realized the doors looked more wall-to-wall mirror, less cabinets doors that happen to have mirrors. We decided the mirrors need to be broken up more, so we had Clearwater Custom Cabinets mock up two options. It took a whole week to decide, but we finally decided on grids.

harware-schoolhouse-vs-rejuvenation

The hardware. My original design called for brass hardware. Simple, right? No. I love Schoolhouse Electric’s pulls, while I love Rejuvenation’s quirky cupboard latches. Mixing and matching isn’t an option because the brass finishes are noticeably different. The fact there are thousands of options to still consider on Amazon doesn’t help my indecisiveness either.

So how did we or are we going to get past these struggles? What is our secret to overcoming indecision and second guessing? Our secret is starting and pushing through. That’s it.

We commit to moving forward. However slow forward may be. Sometimes it takes a few hours to get to the finish line and other times it takes 6 months.

We are both incredibly detail orientated, and a little bit of perfectionists. While some people may struggle with the big picture, for us the struggle is real for the small things. “The devil is in the details” should be written on my gravestone. We know we need time to make decisions, so we don’t race to the end. However, we also don’t let the fear of indecisiveness prevent us from starting. When we start projects, we keep going. What we lack in decisiveness, we make up for in commitment.

[wc_social_icons align=”left” size=”large” display=”Facebook,google,twitter,pinterest,instagram,bloglovin,flickr,rss,email,custom1,custom2,custom3,custom4,custom5″]


Design

Quartz Countertops + Some Extra Stone Details

This post may contain affiliate links, please read my disclosure policy.

img_7263.jpg

If you’re here for the basement tour, you’ve come to the right place.

While progress in the basement has slowed down over the past month, Northern Stone and Clearwater Custom Cabinets recently hooked us up with some impact pieces — quartz counters and one-of-a-kind cabinets.

Now that the cabinets and countertops are in we expect things to start progressing quickly. Our contractor, Carpenter Homes, says we should be able to indulge in a family movie night by Christmas! That is, as long as we don’t make any last minute changes and pull our weight on the DIY stuff! Uffda, here’s to hoping!

Let’s start with the bar.

If you need a refresher on the look we are shooting for click here.

basement-bar-with-quartz-counters

backsplash-detail

bar-backsplash

Tiny Prints - Birth Announcements and More

At this point, it’s pretty obvious we are into the marble look, so why man-made quartz? One word – MAINTENANCE. The day wine or something acidic spills on marble, that thing is done. No thank you, I like wine too much!

However, if you are one of those people who enjoys patina, carry on with that kitchen marble install.

Disclosure – Don’t take me too seriously because two of our bathrooms are almost completely marble. I love them, there is some slight patina, and I’d be lying if I said I’ve never brought wine into them.

In our defense, when we built our home a few years ago the options for quartz counters were not this realistic, Quartz counters are getting more natural looking every year.

For our bar we went with Dupont’s Zodiaq® London Sky. We liked that it didn’t have a repeating pattern, has big natural looking veining, and was the most affordable of our final options. We also considered Daltile’s White Statuary and Cambria’s Torquay.

back-splash-with-sink

bar-counter

The notch above is for a rustic beam picked up at ICSS Supply Company.

To tie the entertainment room to the bar, we used remnant pieces from our counters for the fireplace surround. In many ways the two rooms, which are open to each other, are opposites. The repeated detail should bring some consistency to the spaces.

entertainment-center

quartz-fireplace

As you can see in the pictures, the quartz surround sticks out about 1/2 in. from the mantel since it is counter depth, not tile depth. We will be hiding this lip with molding. Visually we don’t want the mantel to look like a shelf, so we are simply going to trim it out. We are going to DIY this part and it will probably looks something like this.

quartz-fireplace-lip

Quartz counters were also installed in the guest bathroom.

To save money we bought a remnant piece from Northern Stone’s yard for the bathroom. It is Viatera’s Cirrus. It is very similar to the stone we picked for the bar, but is a little whiter and has less veining. We also used it for the shower curb.

vanity-in-basement-bathroom

shower-quartz-curb

bathroom-counters

For a refresher on the bathroom design, visit here.

What do you think of our counter selections? Sound off below.

Missed some basement progress posts? See them all here.

Then don’t forget to sign up for our newsletter here.

Best, Katie

My Miscarriage Story for Scary Mommy

This post may contain affiliate links, please read my disclosure policy.
eva-rocking
I wrote about how bittersweet it is to see your daughter lovingly rock her doll after a miscarriage for Scary Mommy.

I never planned to publicly share this story.

Yet in the middle of the night I found the word pouring out onto my computer screen. Then the next day I found myself pushing send to Scary Mommy. To be honest, even then, I didn’t think it would ever be published.


This is by far the most personal piece I have ever written. There is a reason I mostly write about home design. Yes, I am passionate about it and it’s a major part of my life, but it doesn’t leave much room for criticism about who I fundamentally am as a person. Unless of course, you don’t agree with my lighting choices, because that is definitely personal.

In real life, I’m not a quiet person and many people know about my miscarriage. However, there were times in the weeks and months following our loss that I casually mentioned it to people that I’m not particularly close to. I often instantly regretted it, really regretted it. I worried that speaking about it made people feel uncomfortable or that I was being dramatic.

Trust me, talking about miscarriage is awkward and it really puts a wrench in a nice, casual social interaction. However, I shouldn’t have regretted it. Talking about it helped me heal. I also came to realize how many people understood exactly how I felt, or could empathize with my pain.


The Secret Sisterhood
I didn’t know that people who owed me nothing would show me the greatest kindness, or that their kindness would be my silver lining. [Read More]

Eventually I stopped talking about it. But 6 months after the fact, I laid in the stillness of the night reflecting. I felt a compulsive need to put the words in my head down.

So here it is. This is my story on what it’s like after the miscarriage, when it seems like everyone else has forgotten about your loss. Thank you Scary Mommy for being willing to share my story.


The Secret Sisterhood
No one told me what it would feel like to watch my almost 2-year-old rock in her little rocking chair while whispering “I love you so much” to a doll cradled in her arms. No amount of research could have prepared me for the fact that the words “sister” and “brother” would feel like ice off my daughter’s tiny lips. [Read More]

Some of the feelings I expressed are still the same and some aren’t, but this is exactly how I felt during that moment in time. In many ways, putting my story on paper helped me heal. I hope it can help others, as well.

My miscarriage will always be a part of my story and that is okay.

Now that I’ve over shared, I ask you to too. It may make people feel awkward, but that doesn’t mean it shouldn’t be said.

Share your story by using the hashtag #IAmOneInFour online.

Design

Where to Find Patterned Tile + Bathroom Progress

This post may contain affiliate links, please read my disclosure policy.

bathroom-with-cement-tile-shop-floors

I now fully understand the hashtag #Ihaveathingwithfloors. I am head over heels for our bathroom floor. I will love it for ever and ever and ever (or at least until it becomes dated, which is hopefully NEVER!).

Our bathroom tile has received a lot of attention since I first posted it on Instagram and shared the bathroom design plan.  Like our office painting, it’s safe to say it’s a fan favorite. Since I’m generous, I’m giving up all the details.

But first a close up. Ignore the dirt, it still needs a good scrub down.

cement-tile-on-bathroom-floors

This stunning tile is Cement Tile Shop’s Bordeaux pattern in Pacific Black. I came across it  after seeing patterned floors over and over again in my Pinterest and Instagram feeds.

It is a classic look that makes a statement. It’s not for the faint of heart. 

Encaustic Cement Tile is a colorful, and durable covering for floors and walls. It’s also known as Cuban tile in the United States, and Hydraulic Tile or Mosaicos Hidraulicos in other parts of the world. This ancient form of mosaic floor tile is available in patterns and colors to coordinate with any type of decor. Just check out Cement Tile Shop’s Instagram for proof of this gorgeous tile’s diversity.

Cement Tile Shop offers the largest selection of cement tile in the United States. You can order stock tiles for immediate shipment or create your own custom tile or pattern. Each tile is hand made to order in the same way that hydraulic encaustic tiles have been crafted since the 1800’s and passed from generation to generation.

floors-in-bathroom-before-grout

Land Of Nod: Design for Kids and People That Used to be Kids
 

I want to be clear, we did not install this tile ourselves. We have never installed tile and didn’t think an irregular shaped room was the place to start. Boy, were we smart.

Imperial Flooring, who supplied and installed our herringbone floors, sent over their tiler. While Imperial Flooring had some beautiful tiles, their options could not replicate the uniqueness of Cement Tile Shop’s products. We purchased the tile online, and Imperial Flooring agreed to charge us for install only.

While I think this flooring would be relatively easy to DIY in a square or rectangle room, the angles of our bathroom provided challenges. It took careful consideration to decide where the lines of the tile should fall. On the advice of our experienced contractor, Cassidy, we ended up lining everything off the bathroom shower curb in the main area of the room and laid the tile in the shower in a completely different direction based off the wall.

shower-in-bathroom

Cassidy also had to get a little crafty when it came to laying the shower floor. When the project first began he had major reservations about laying the cement tile in the shower. He cautioned against using 8×8 squares because it’s hard to create the proper drain slope with a tile that large. A linear drain allows for a single slope shower floor and eliminates awkward diagonal tile cuts to a central drain, but we had not planned ahead and just had a basic drain installed in the middle.

However, I was determined to find a way. One, because we already owned all the pricey, non-refundable tile. Two, after seeing the flooring in all it’s glory, I couldn’t bear to put plain white tile in the shower.

view-of-shower-in-bathroom

I’m not sure who came up with the idea, but after an hour of head scratching we had a solution. Cassidy cut all the tiles into 4 pieces. Making them into smaller 4×4 tiles.

In retrospect it was a pretty obvious solution, but it required a lot more time and energy. Cassidy and his team not only took care in cutting and lining up the tiles, they also created a hidden drain! A tile is adhered to the drain cover. It’s not grouted so it can be pulled out if needed and the water will drain into it’s sides.

The drain is in the picture below! If you can find it, give yourself a big pat on the back. (Sorry, I can’t afford to give everyone a dollar!)

cement-tile-in-shower

In addition to the floors, we also had Cassidy install subway tile around the room, and the vanity was installed by Clearwater Custom Cabinets earlier this week.

It’s hard to tell in the pictures, but the vanity is navy. It’s Benjamin Moore Old Navy. When it was first installed, I got a little nervous that the blue look random next to all the black and white. After staring at it for a few days, I’ve decided it softens the space. Also, given the lack of natural light it doesn’t read as all that blue.

bathroom-progress-with-cabinet

long-shot-of-bathroom

The mirror pictured above is from Rejuvenation and can be purchased here.

Originally we planned to install a white tiled chair rail to finish off the wall, like this, rather than the brushed bronze strip. However, we had an eleventh hour switch after the chair rail did not match the subway tile. White does not alway equal white.

It took a while to get used to the change in plan, but I’m starting to like it. It will tie in nicely with the steel shower.

wall-tile-in-bathroom

Over the next few weeks brass and more brush bronzed finishes will be added to the room. You can see all our finishing selections here.

To see all our basement post, click here.

Be sure to follow us on Instagram to see real-time progress. We will continue to post Instagram Stories highlighting what work has been done each day.

Let us know what you think of the basement progress in the comments, then tell us what Cement Tile Shop pattern you would love to use in your own home!

Design

Bringing Fashion to Your Home with Kate Spade (ShopStyle x CFDA Fashion Targets Breast Cancer)

This post may contain affiliate links, please read my disclosure policy.

*I was notified today 10/19 that several states have been added to the list of states that are not included in the promotion, including North Dakota. Please see details at the end of the post. I am very disappointed by this news.

Today’s post combines a few of my favorite things – fashion, home decor and supporting a good cause.

Today through Sunday, Oct. 23 I will be donating 10% of my net profit from my ShopStyle affiliate link sales to the CFDA’s Fashion Targets Breast Cancer campaign. While I am allowed to cap my donation, I have elected to maximize my contribution. With the proceeds from the campaign, the CFDA Foundation will provide meaningful help to women concerned about and/or diagnosed with breast cancer. You can lean more about the cause here.

While no one in my family has struggled with breast cancer, I have watched friends lose loved ones to this terrible disease. I have always admired those who can take what they are passionate about and harness that energy into raise awareness to a larger cause, which is why I have chosen to participate in this campaign. Style, whether personal or home style, makes an impression. People take notice. Today we are using that power for good.

Back in the day, a.k.a before I had E, I considered myself to have style. While I like to think I can still pull together a solid outfit that doesn’t involve head-to-toe Lululemon, as of now, most of my energy is home focused. I have realized that being “fashion forward” doesn’t have to start or end with clothing. Today many high end designers are expanding their brands and taking on home decor.

No one (IMHO) does better at adapting their brand across the markets then CFDA designer, Kate Spade. Her home line has the same fresh, quirky, but somehow still classic, vibe her clothing fans love.

kate-spade-office-supplies
Acrylic Tray | Business Card Holder

Kate Spade is my secret weapon when it comes to adding the finishing touches on to a room. In my office, I use her acrylic pencil holder and paper tray to keep me organized and to pull the look of the room together. While the gold accents look good from afar, what really pulls me in is the cheeky sayings that only I notice.

I don’t know about you, but I like a little playfulness in my decor and my clothing. To help you bring the fun-loving vibe of Kate Spade to both your home and your closet, I’ve matched up the decor in my home to their outfit equivalent.

See something you like? Purchase today! Your purchases will help raise funds and public awareness for breast cancer in the U.S. and internationally.

line


cheeky-professional
Business Card Holder | Pencil Holder

line


formal-amusement
Cheese Plate & Knife Set

line


relaxed-sophistication
Tray

line


laid-back-family-fun
Picture Frame

line

Click and shop some of my favorite Kate Spade home accessories below. I will be editing this post after the completion of the campaign to include the exact dollar amount raised by Pretty Domesticated, as well as, the total campaign earnings.

POPSUGAR Inc. will be making a $5,000 donation, on top of matching dollar-for-dollar all participating ShopStyle Collective bloggers donations in excess of $5,000. Their maximum donation is $10,000.

*This post contains affiliate links. This promotion is conducted in partnership with POPSUGAR Inc. and the CFDA Foundation in support of the Fashion Targets Breast Cancer Initiative. To contact the CFDA Foundation visit here. Pretty Domesticated will donate 10% of net sales, excluding taxes and shipping. The promotion runs from 10/17 – 10/23. The value of the donation corresponding to any purchases is not tax deductible to the consumer. ShopStyle sales generated in Arkansas, Alabama, Delaware, Hawaii, Idaho, Illinois, Indiana, Iowa, Louisiana, Massachusetts, Mississippi, Montana, Nebraska, Nevada, New Mexico, North Dakota, Ohio, Oregon, South Carolina, South Dakota, Texas, Vermont and Wyoming. 

Fashion

DIY: A Custom Birthday Party Dress

This post may contain affiliate links, please read my disclosure policy.

birthday-dress-tools

It is the most important day of the year in our household — E’s birthday!

To celebrate, instead of our usual Freestyle Friday post, we’re sharing one of our favorite DIY projects — an affordable, custom party dress fit for a princess.

I DIY’d a very similar dress for E’s first birthday last year. If E let’s me, I am going to do this every year for the foreseeable future. I love the results so much! It’s quick and easy, and looks straight out of an Etsy store.

Here’s what you need:

marker-drawing-of-two

working-on-bday-dress

Step One: Draw out your words on the transfer paper.

For E’s first birthday I just put “one.” This year I got a little more sassy and creative. E’s a bit spunky herself, so “I’m two cute!” is fitting. Last year having just her age was limiting for re-wearability. It was so obviously a birthday outfit. Putting a saying on the outfit will make it more wearable for our birthday girl year round.

The iron on transfer we used had a plastic overlay so we were able to use a permanent marker to color directly on the paper, without harming the glitter underneath. You can purchase the transfer we used here.

If you don’t like your own handwriting or simply don’t want to draw the word(s) out, you can print out the typography, use stickers, or use stencils.

cutting-words

Step Two: Cut out the word(s).

Since I did a saying, I drew and cut out “two” before starting on the rest of the phrase. I wanted “two” to be the most prominent word on the dress, so doing it before the other characters made it easier to balance the scale.

After I found a position on the dress where I like the “two,” I repeated steps one and two for the remainder of the phrase. This time making the words smaller.

glitter-paper

Step Three: Lay out your design.

Make sure you like how your word or phrase looks on the dress before moving on to the next step! This is your last chance to make changes!

dress-mock-up

Step Four: Take the plastic off the word(s) and iron them on one-by-one.

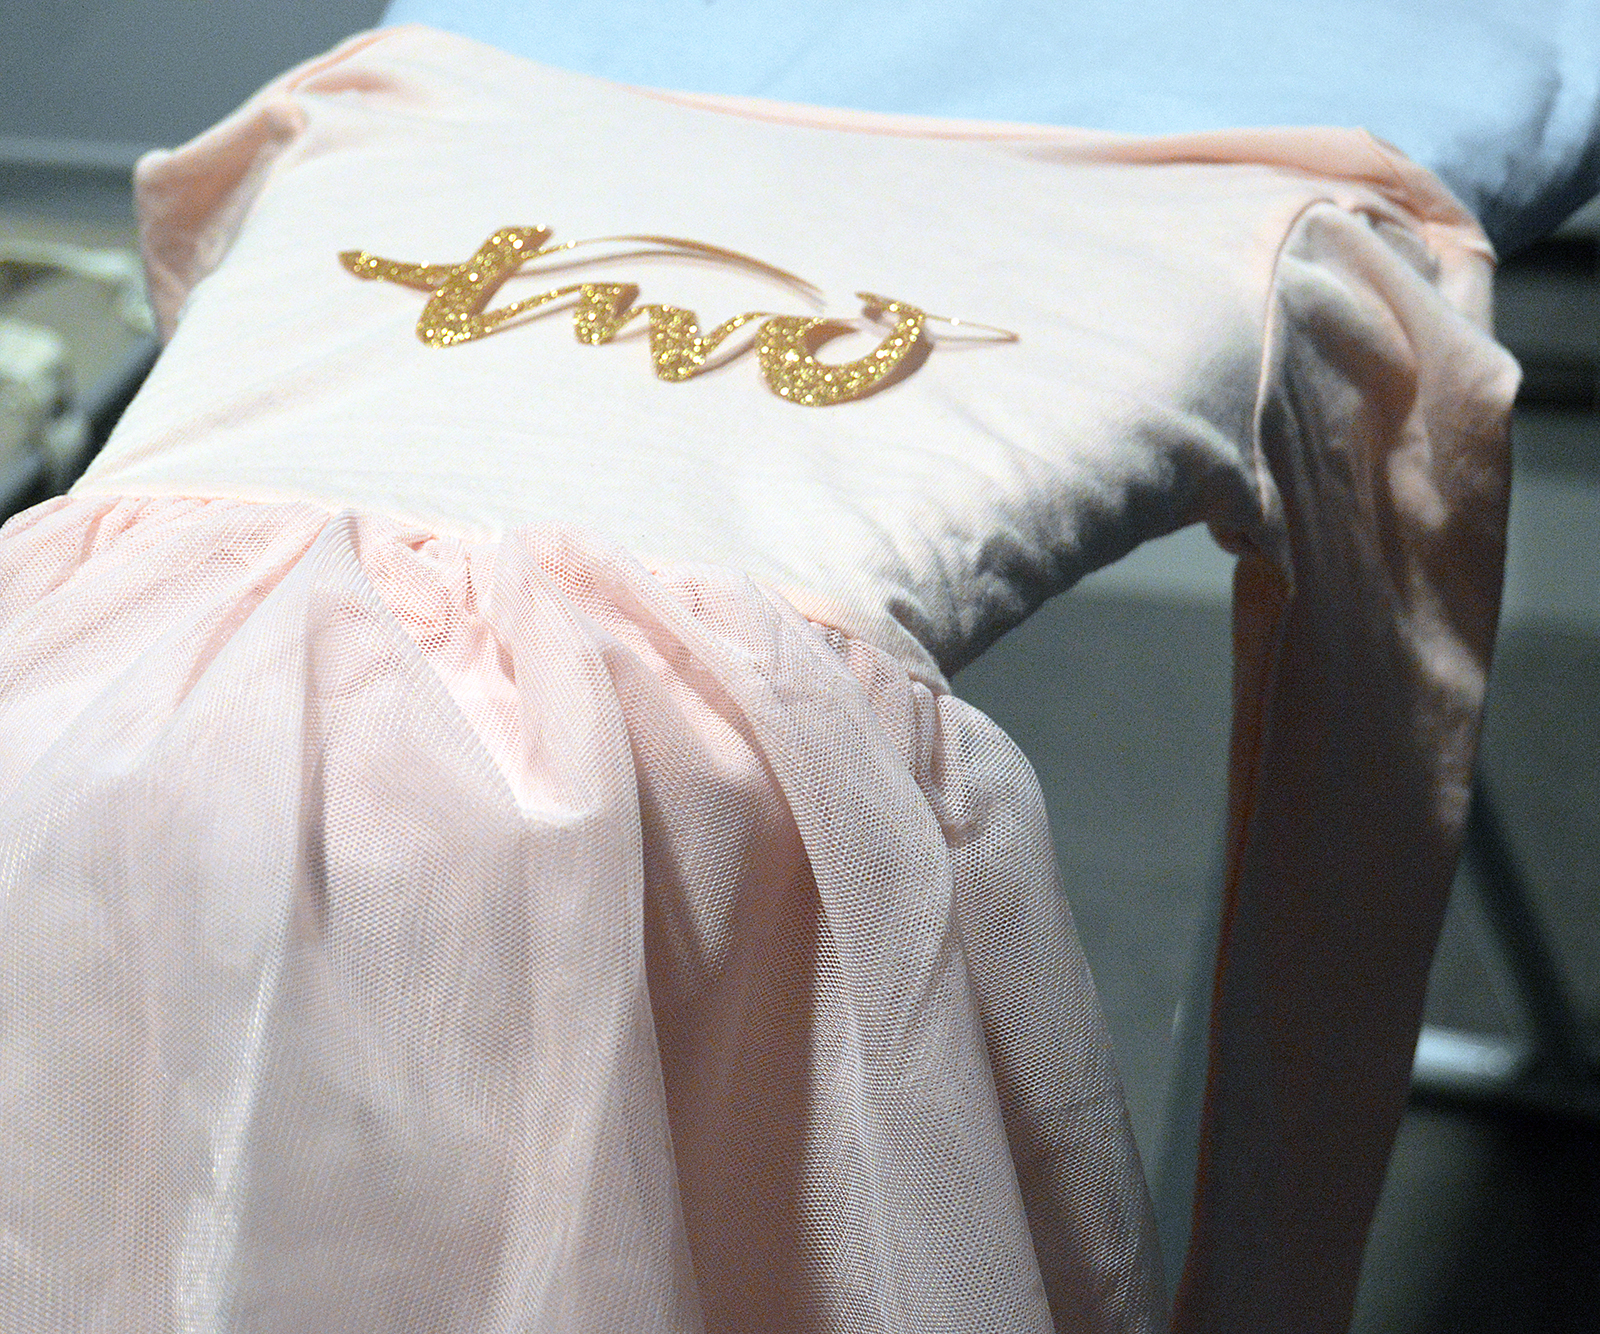
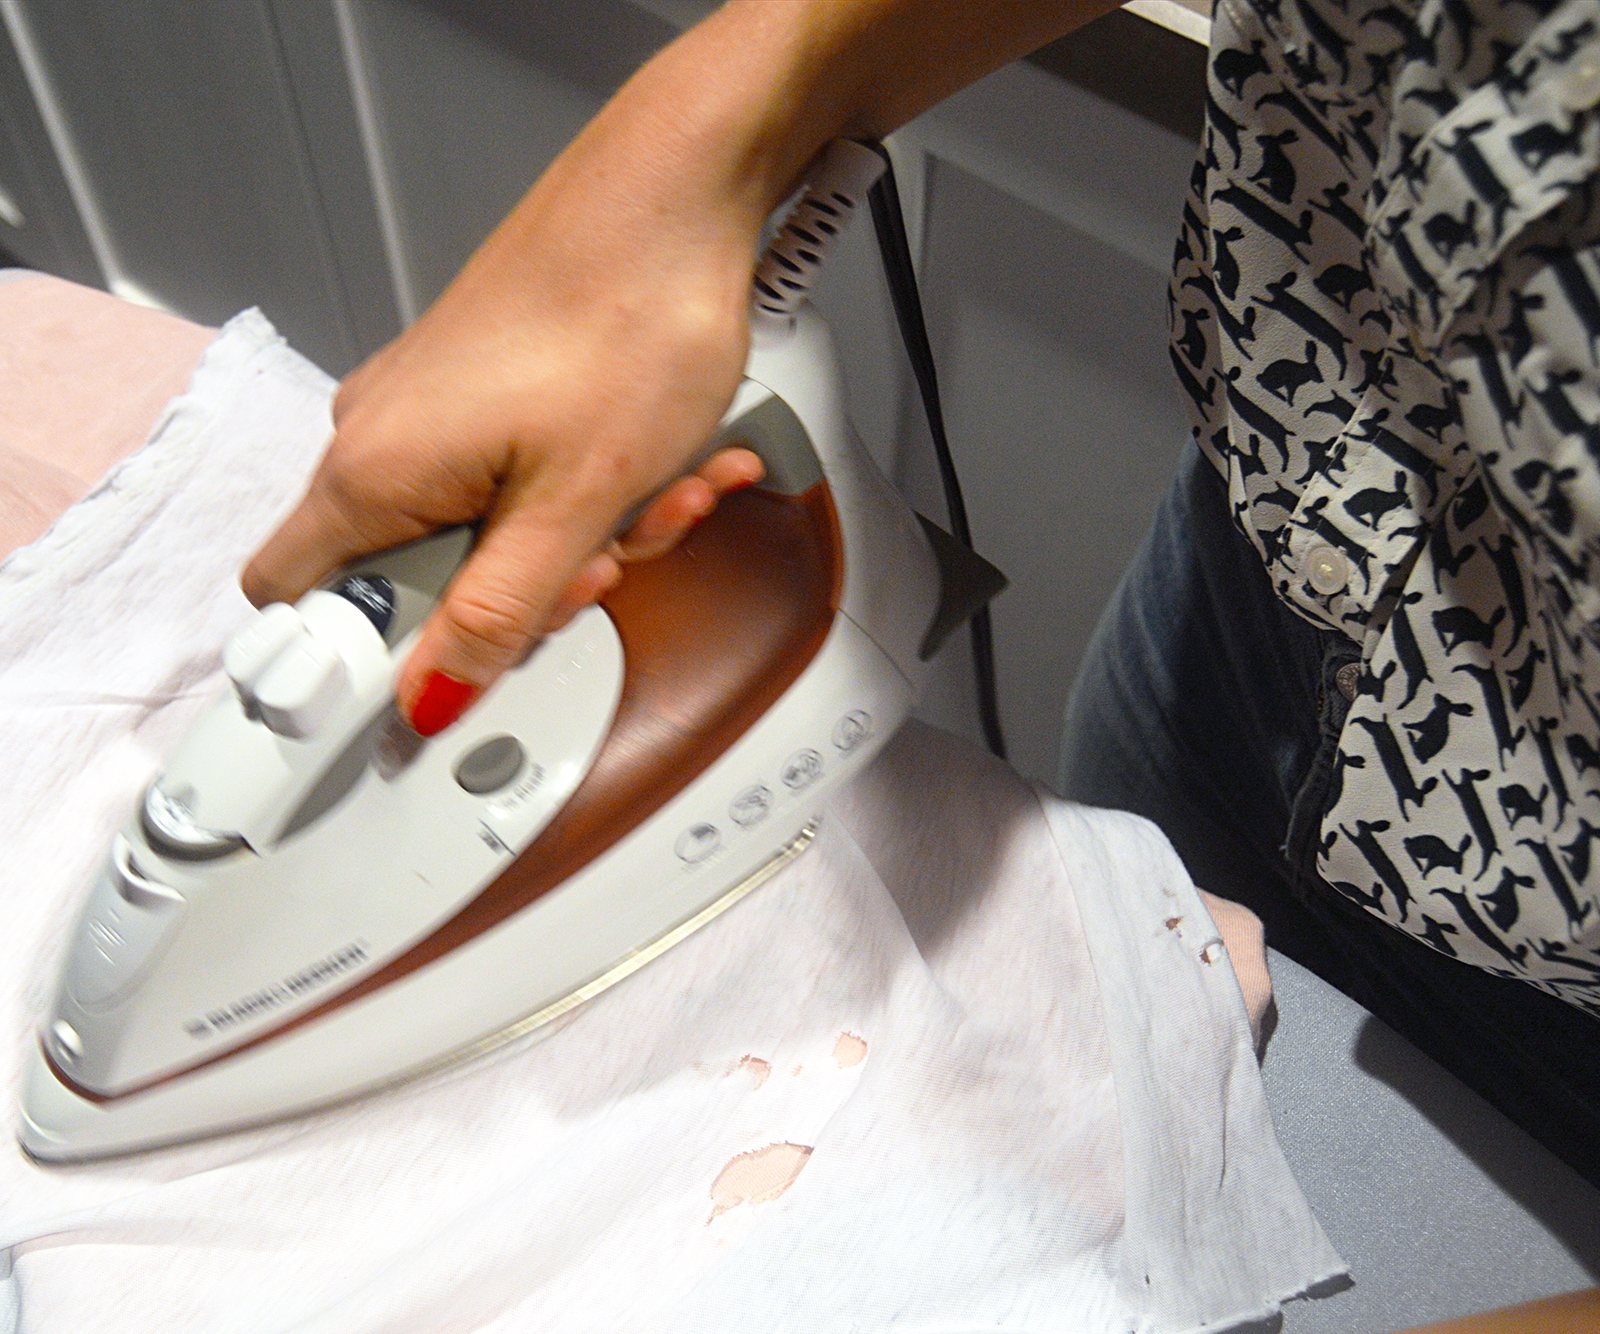
I ironed each word on one-by-one, starting with “two.” After centering “two” on the dress, I placed a rag on top to avoid damaging the glitter. I pressed firmly on the appliqué, being careful to heat the entire surface area. Then I used the tip of the iron to trace the outline of the word.

Last year, the edges of the iron-on started to lightly peel after being washed. I’m hoping that because I diligently sealing the edges, the appliqué will hold longer this year.

I used the same ironing procedure to apply the rest of the phrase on one at a time. Then I used the iron to go over the entire phrase once more. I spent a lot of time with the iron this year, so those baby’s should be glued on tight!

progress-of-dress

Gymboree Sale On Now!
 

Step Five: Enjoy your sweet and sassy birthday dress!

E’s dress is hanging on her closet door ready to go! She is all about dresses that twirl, so even though she doesn’t understand the subtle genius (IMHO) of my decided phrase, she is almost as excited about this dress as Mommy is.

She will be wearing this dress today and for her Doc McStuffins’ party next weekend.

finished-birthday-dress

I will be sharing bits and pieces of our day on social media. You can follow us on Facebook here and Instagram here. But today is all about E! The house is decorated, and her presents are wrapped and sitting on the kitchen counter. I can’t wait to see her excitement!

I recycled most of last year’s decor, except the ridiculously time-consuming giant flower covered, number one. See it here. I still love it and am saving it in case I ever have another girl.

Have a toddler in your life that would love her own custom party dress? Share your dresses with us using #prettydomesticated.

Design

Why I Changed My Mind About Vinyl Flooring

This post may contain affiliate links, please read my disclosure policy.

I gave you sneak peaks at the basement progress last week, specifically the floors, but I didn’t provide much information on our selections. I received some questions about the materials, so I am going to share all the details about why we picked each finish.

Today I’m talking about our herringbone, faux wood floors.

Daren and I know very little about flooring, so we decided it was in our best interest to hire a professional. Our contractor, Carpenter Homes, directed us to Imperial Flooring for this project.

lvt-flooring-half-finished

lvt-floor-in-progress
Before meeting with Aaron from Imperial Flooring, I had already completed the vision boards for the bar and the entertainment room, so we had a very specific idea of what we wanted. If you are a regular reader, you may recall I had been considering cork floors in a light color for the basement and I had already fallen in love with Cement Tile Shop’s products.

I’m not a huge fan of wall-to-wall carpet, but I loved the idea of having something soft and warm underfoot in the basement since it will be mainly used as a play zone. When planning the basement design I did what any reasonable person would do, I googled “soft flooring options that aren’t carpet.” After further Pinterest research I was convinced cork may be the way to go, but I was concerned it would scratch too easily. I was definitely not considering vinyl.


Land Of Nod: Design for Kids and People That Used to be Kids

Aaron confirmed that cork, like wood, is susceptible to scratching. He also pointed out that while it is water-resistant, it is not waterproof. In our region, it seems most people experience their basement flooding at some point. I remember a few episodes growing up when we had to create a family assembly line to transfer water from the sump pump to the tub in our basement. Cork is already expensive, so I didn’t like the idea of having to replace it if our basement ever floods.

Instead of cork, Aaron suggested Luxury Vinyl Tile or LVT, which is completely waterproof and generally more affordable than cork. I’m not going to lie, previously to this meeting I had a negative opinion about anything vinyl. In my mind it looked fake and at best cheap. I’m a complicated individual. I want things to be cheap, but I don’t actually want them to look that way! When Daren would dare mention vinyl, I would actually grimace.

lvt-floor-between-rooms

herringbone-lvt-floor

After seeing the LVT options in store, even I had to admit that today’s vinyl is not your grandmother’s flooring. Improved printing and embossing techniques produce a surface that looks and feels more authentic than ever. Aaron had some samples of Raskin Gorilla Floors in store, and we were impressed with the realism and color variation of their Seneca – Loft Plank. Its lack of a joint, meant we could have it installed in herringbone pattern with ease. Meaning install wouldn’t cost us an arm and a leg. If it had a joint we would have had to pay extra to have it removed. We were sold.

The LVT floors took about 2 days to install. It would have been even quicker, but the herringbone pattern slowed things down a bit, as did the adjacent work in the guest bathroom. I’d highly recommend Imperial Flooring, their hired installer did an amazing job and made sure the lines are perfectly straight.

completed-lvt-floor

How do I feel about it now that is installed? I love the appearance. It looks like real wood. Only the feeling of it under your feet really gives it way as faux. Each plank is unique in appearance and has variation in texture. However, I do wish it was a bit cushier and warmer. It is definitely not the soft play floor we had originally envisioned. The plank is thin and laid directly on the cement. Silver lining, Daren won’t be able to say no to putting rugs throughout the space. He doesn’t seem to love rugs as I do. Overall, I’m happy with the selection. It’s very rare you can get everything you want in one product, so compromises had to be made. I will rest easy knowing I will never need to remove all my floors due to flooding.

After we have settled into the space, I’ll write a new post on how I’m liking the floors.

Tell us in the comments: How do you feel about vinyl flooring? Yay or Nay?

Design

Coveting Now – Modern & Brass Ceiling Fan

This post may contain affiliate links, please read my disclosure policy.

coveting-now-brass-ceiling-fan

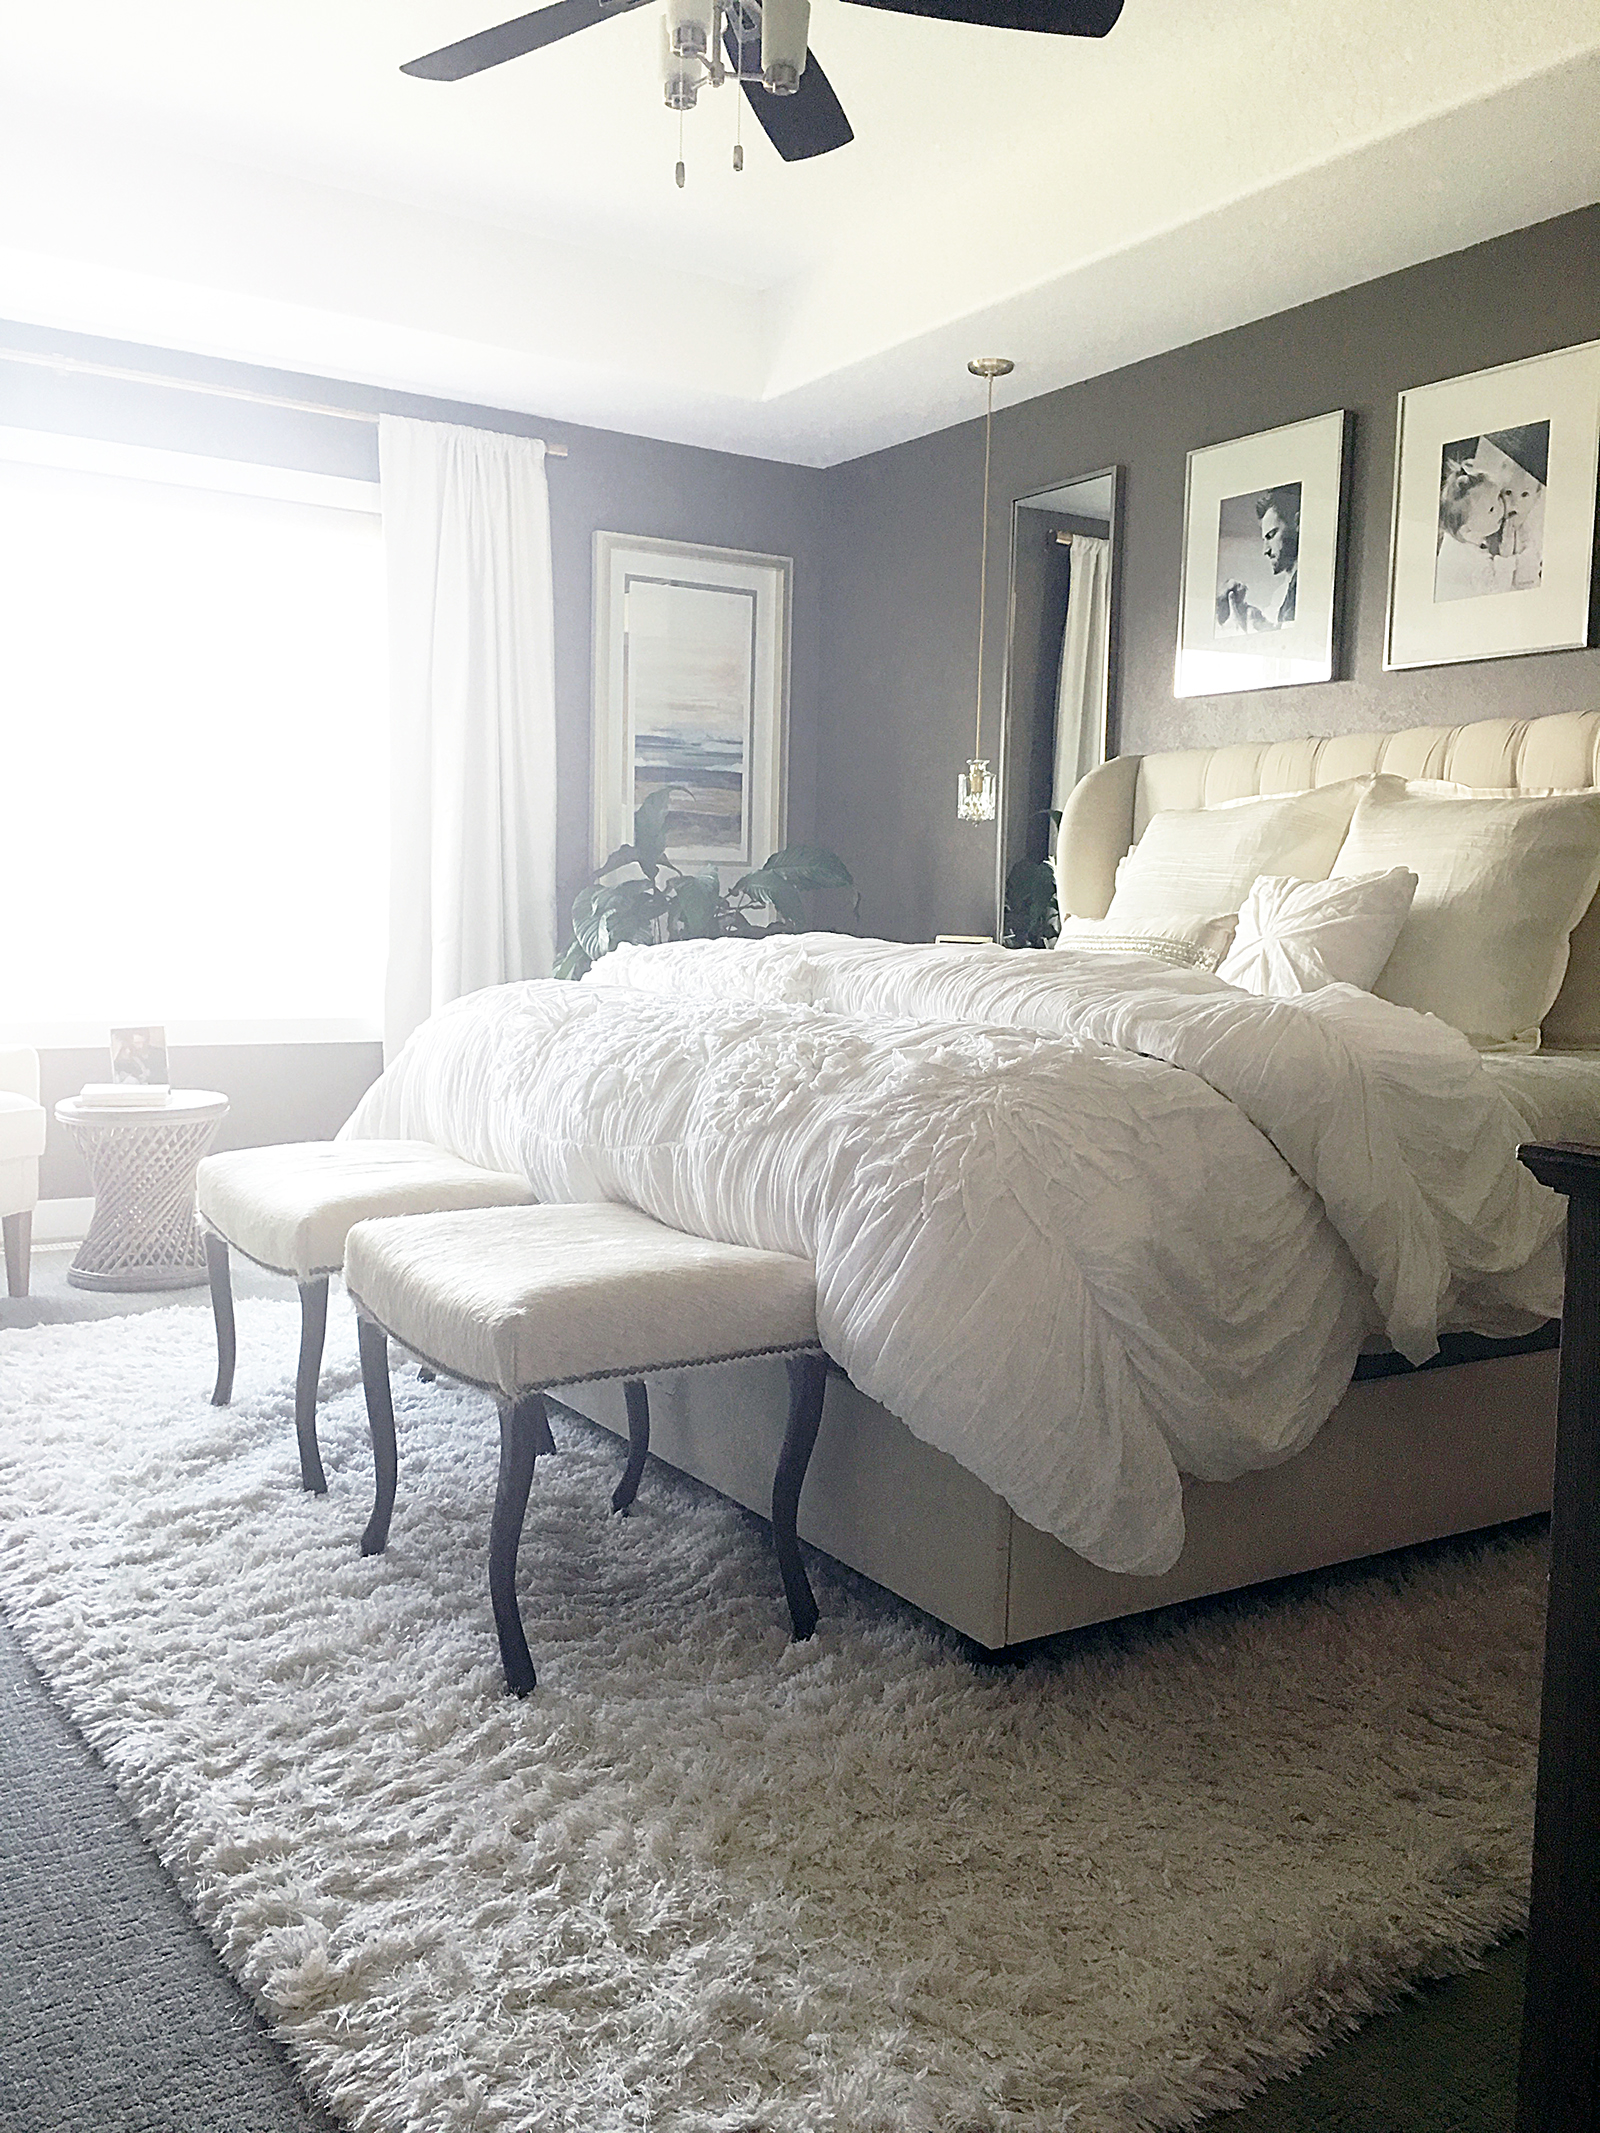
I’ve lost it you guys. I have major green eyed envy over this brass and walnut fan I spotted on Rejuvenation this week. It’s a good thing this series is called “Coveting Now” because I am 100% lusting after it’s spinning blades of beauty. I have no business wanting it what so ever. We have a perfectly good (and much cheaper) fan, you can find here, hanging from our tray ceiling. But man do I want this brass beauty for our master bedroom. 

brass-fan-from-rejuventaion
Image from Rejuvenation. Click the picture to purchase.
Isn’t it pretty?! Is it just me? Have I completely lost it?

It is no secret I have a major thing for brass. You can see proof of that here, here and here. We already have a lot of golden accents in our bedroom, so I feel like it would blend pretty seamlessly.

Side note – What I’d really love to do is to put a chandelier like this on the ceiling, but Daren insists we must have a fan in the bedroom. I must contend he is right, I turn that baby on a lot, but my love of pretty things wishes it wasn’t so.

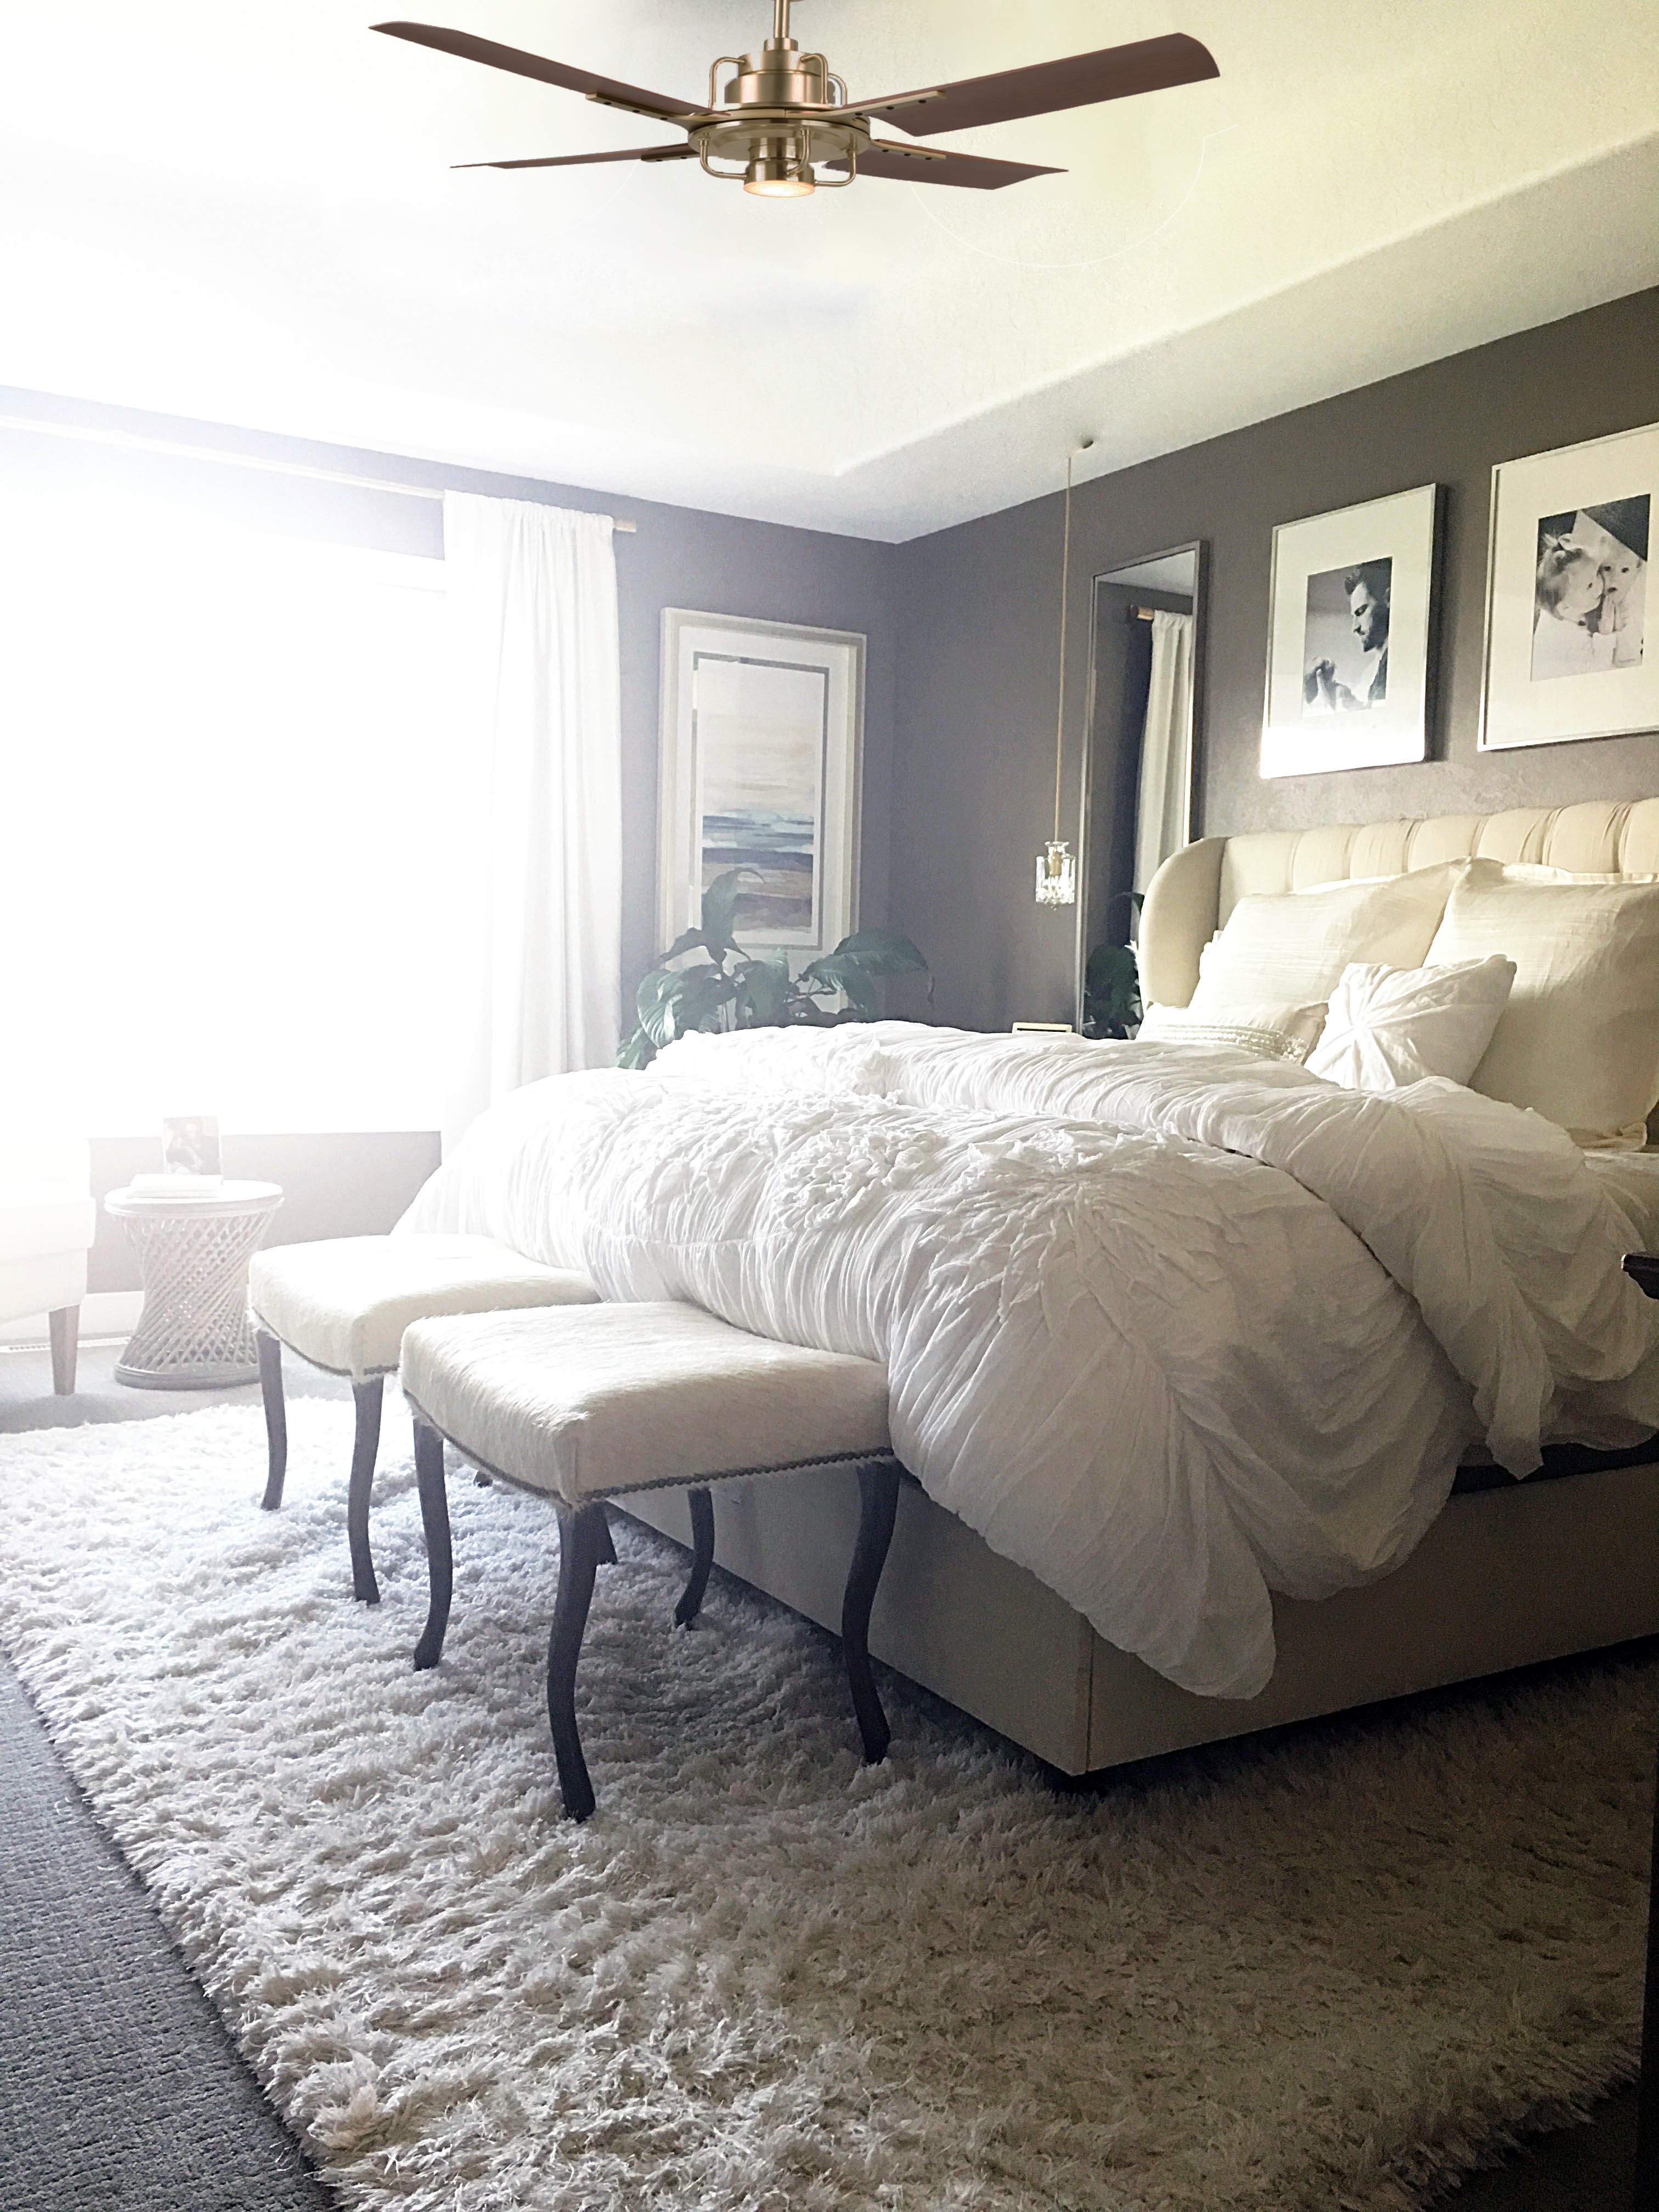
To fully commit to my crazy, I photoshopped the Peregrine Industrial LED Ceiling Fan into our room.  Although I prefer the lightless version, we need all the light we can get in our bedroom, so I mocked it up with the light attached. 

The pictures above don’t really do the fan or room justice. It’s hard to capture the true wall color, especially with an IPhone! The paint color is Sherwin Williams Backdrop (SW7025), and it is a cool toned brown. In life, the wall color is complimentary to gold, though it seems a little off in my mock up. I’ll get you better pictures, taken with an actual camera, of the bedroom soon.

silver-fan-from-rejuvenation
Not into brass? It comes in other colors too! Image from Rejuvenation.

In my defense, this fan found me. I was minding my own business, browsing the site for basement lighting, while laying in bed and watching Daren add crown molding to our tray ceiling. (I helped a little! More on that soon!) It just popped up on my screen. How is that not fate?

It’s not? Daren doesn’t agree either. Dang you reasonable people.

Alas, the fact that our basement has gone over budget and, you know, practicality, means I won’t be indulging this want. At least not now.

If you happen to be in the market for a fan, I highly recommend the beauty above, or you can shop some other great, modern options below.

*This post was not sponsored by Rejuvenation. I just really love this ceiling fan. However, this post does contain affiliate links.

Tiny Prints - 10 Free Thank You Cards

Best, Katie

Freestyle Friday (Four Things I’ve Learned in Four Years of Marriage)

This post may contain affiliate links, please read my disclosure policy.

Bed | Duvet | Mirrors | Frames | Lights – Anthropologie (no longer available)
We celebrated our 4th wedding anniversary yesterday in the very best way – all three of us cuddled in bed watching a Tinkerbell movie. Given the everyday chaos of raising a toddler and finishing a basement, we decided a night in, enjoying the little family and life we’ve built together, was the best way to celebrate.

We have been together for eight years in total, but I have learned a lot more about Daren and relationships in the last four years of marriage than I did in our four years of dating. Why? because we are committed. We are a WE, not just two people who enjoy spending time together. Though we still do! Most of the time! 

In the past four years together, we have traveled the world , built a house, had a baby, experienced loss and taken on a whole lot of DIY projects. I’d like to think I’ve learned a thing or two in that time. I have a heck of a lot more to learn, but for your entertainment here are four things I’ve learned from four years of marriage.

img_5027.jpg

 1.  Compromise is necessary. I talk a lot about how we compromise on design decisions on this blog. We are two different people with different views. Sometimes you just want to shiplap your mudroom and your spouse is not on board! In seriousness, we have different backgrounds, opinions, weakness and strengths. In order to peacefully and happily cohabitate, neither of us can always get what we want. This is harder for me. 

2.  Find your thing. Everyone says to schedule date nights once a month. We don’t necessarily schedule our dates. We don’t even go on traditional dinner dates often, but we do spend plenty of time child free thanks to nearby grandparents. This time is often spent in the lumber section at Lowe’s. That’s our thing. We may bicker over finishes, but we thrive when taking on projects. He looks good handling power tools and feels macho after the project is complete, and I think that results look pretty. Everyone wins. Bottom line – I like spending time with him.

Gymboree Sale On Now!
 

img_5152-1.jpg

3.  Laugh with your spouse. Life gets hard sometimes, bad things happen and sometimes we fight over what to eat for dinner. If we weren’t friends, who could laugh at the ridiculousness of it all, we wouldn’t stand a chance. Daren said one of the first things he noticed about me was that I laughed without abandon. He thought it was quirky, a bit weird and it unnerved him a little. Today he gives me a lot of reasons to laugh. Sometimes at him and sometimes with him, but either way there is laughter.

4.  Grilled cheese solves everything. Daren makes the best grilled cheese sandwich that has ever touched my lips. He knows that whether it’s to celebrate the best or forget the worst, a grilled cheese sandwich is always the way to go.

Land Of Nod: Design for Kids and People That Used to be Kids

Design

A High Contrast Black and White Bathroom Design

This post may contain affiliate links, please read my disclosure policy.

Whats black and white and gold all over?

…Our future guest bathroom!

I’ve already revealed the designs and finish selections for the playroom, bar and the guest bedroom, but until now I have only shared a single Instagram post hinting at whats going to happen in the basement bathroom. My virtual silence does not mean I’m not excited about it. The flooring from Cement Tile Shop we selected may be my favorite finishing detail I have ever picked. Check it out below. It looks like art!

img_2552.jpg

Hopefully it is timeless art, not something that is super dated in 10 years or that wears poorly. I think that the fact that it is black and white will keep it on the unique, classic side. Fingers crossed. Usually we go simple and clean with our finishes, but I believe bathrooms are a great place to go a little wild. What do you think? Too loud or just right?

Before I reveal all our selections. Here is a refresher on where the bathroom is situated in the basement. See that door on the angled wall below? That’s it! For a better perspective of how it falls in the basement layout, visit this post.

dsc_0018.jpg

I put together a rough drawing of the bathroom below. We went back and forth on the layout of the bathroom because the shape is a little random. We shrunk the size of the bathroom to increase our design options for the bar. You can read about that here. Due to where pipes were roughed in, this was the best layout for the overall design.

bathroom-layout

As you can see in the diagram, the majority of the bathroom is taken up by the shower. By placing the shower in the corner, it becomes the statement piece of the bathroom. When you open the door to the bathroom it will be the first thing you see. To really make an impact we are going with a steel grid enclosure. You can see some examples of steel showers via our Basement Bathroom Pinterest board. Follow us on Pinterest here.

We already have two bath tubs upstairs, so although we will likely have guests with kids, we don’t feel the need for another one in the basement. Not to mention, due to the constraint of our stairwell and window well, we aren’t entirely confident we could even get one into the basement if we wanted to.

bathroom-finishes
1 | 2 | 3 | 4 | 5 | 6 | 7 | 8 | 9 | 10 | 11 | 12

I have a major thing for brass right now, which Daren is tolerating, so we are integrating some brass touches into our mostly black and white design. We didn’t want to go completely over board with the brass since it’s a smaller bathroom and brass can be quite loud. We’re mixing brass, brushed bronze and black steel fixtures, and keeping the walls a bright white.

Daren really wanted to go with a blue vanity, but I was worried it would seem random when paired with all the black finishes. I wanted straight black. I know mixing blue and black is currently a trend, but I was worried about longevity.

bathroom-inspiration
Image from Amy Bartlam Photography.

Like I mentioned earlier, I don’t want to have to update this bathroom anytime soon. We compromised and settled on a dark bluish black by Benjamin Moore called Old Navy. You can see it in the picture below next to our other paint selections. While the name indicates blue, it reads more as black with strong blue undertones.

We will be doing this color for cabinets along the wall of our bar too.

img_4441.jpg
In the end we expect the bathroom to look something like the picture below, complete with the steel gridded shower, and 360 subway tile with dark grout. Even the flooring is the same as what we’ve selected. You can see another picture of this gorgeous bathroom here.

bathroom-inspiration
Design and Photo belong to Studio LIFE.STYLE.

The tiler is scheduled to arrive Monday morning, so this bathroom will be progressing from a badly lit blank slate to a guest oasis soon. I’ll be posting some peaks at the progress via Instagram stories next week, so if you aren’t already following Pretty Domesticated on Instagram click here.

Give us some tips of what makes you feel at home when using a guest bathroom in the comments below. Want to come be our guest?

Design

A Preview of the Guest Bedroom Bunkbeds

This post may contain affiliate links, please read my disclosure policy.

Our guest bedroom may be a problem. I think I’m going to have a hard time getting E to sleep in her own room after it’s complete. She is already talking about climbing the bunk bed and loves running into the tiny room under the stairs. It’s the bedroom of sleepover dreams!

Before I get to the progress pictures, here is a refresher of our inspiration. Unlike our bar, the dimensions of the room in the inspiration picture are very close to our rooms. Even the window is in the same place.

Guest Bedroom
Room by Artistic Designs for Living. Image via DecorPad.

Daren really has a thing for bunk beds so he is just as pumped as E. He’d like to have enough kids to have to put bunk beds in all our upstairs’ bedrooms! Carpenter Homes is helping us with this set up to save time, since we’d like the basement to be done before the holidays. I suppose Daren actually has to work sometimes! If there are any more bunk beds in our future, they will definitely be built by us. However, it’s okay to hire a contractor even if you consider yourself to be DIYers! Due to time or sometimes even cost, it doesn’t always make sense to DIY it. I’ll write a post about how we decide which projects to DIY and which to hire out. We get asked about this a lot.

If you have been following my Instagram Stories, you have already seen glimpses of how the bedroom is progressing, but for everyone else see below.

Here it is before we even had sheetrock.

dsc_0017

Then it progressed.

progress-of-guest-bedroom

Today it is looking like this.

glimpse-into-bedroom

bunk-beds

Land Of Nod: Design for Kids and People That Used to be Kids
 

window-in-guest-bedroom

door-in-bedroom

You may notice we tweaked the design slightly from the inspiration photo. We are adding secret doors to the side of the beds because we hate to lose any inch of storage, and we removed the small header by the ceiling so no one bumps their head on it when climbing up the ladder.

We also had our contractor add a secret door under where our Tuft & Needle mattress will go. You can never can have too much storage!

img_4283

Eva’s favorite part – the yet completed room under the stairs. The door will be shiplapped too! The room itself is the perfect size for a toddler. I’m planning to wallpaper it and add a pouf, some toys and some books. Maybe this wallpaper?

secret-door

I mentioned in our intro post that this blog is not totally selfless. Sometimes we can’t make a decision to save our lives. We’ve run into that. We need to pick sconces for the bottom bed and we need your help!

sconce-placement


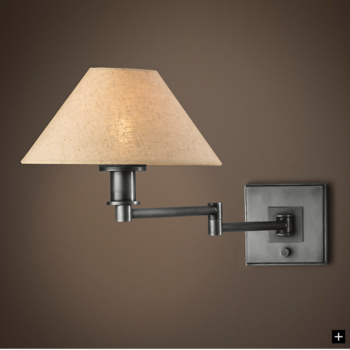
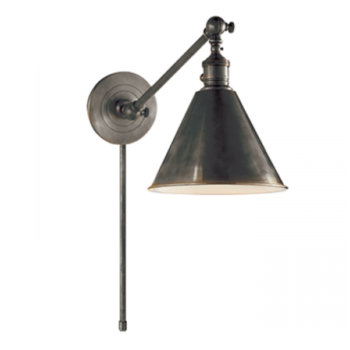
Daren likes the one on the left, I like the light on the right. If we go with the Restoration Hardware light, we’d purchase it whiter shade. The Studio McGee light can be updated from a plug-in to hardwire, so it would be sans the extension pole shown in the picture.

Which do you think would look best? Please tell us what you think! Our tired brains thank you!

Share your thoughts below and then share our post using the links below so we can maximize the amount of advice we receive!

[wc_share_buttons]

Design

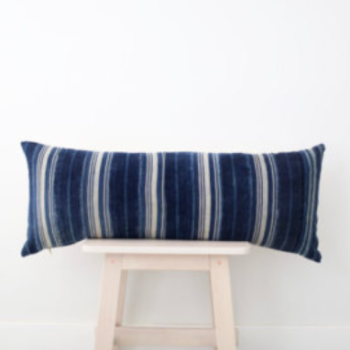
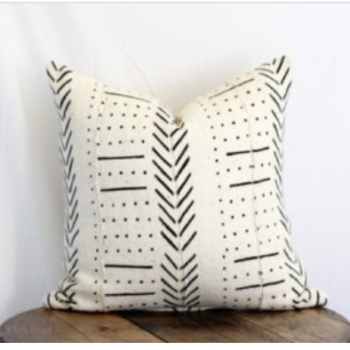
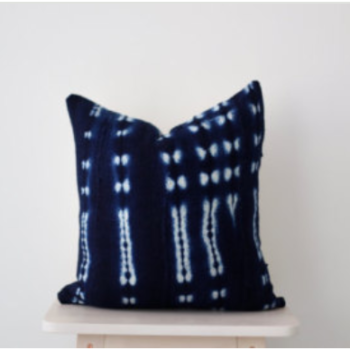
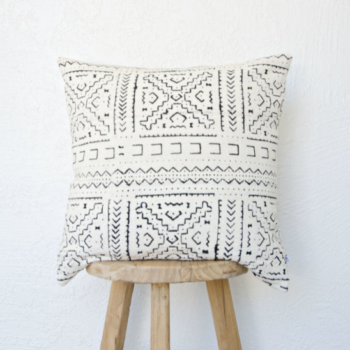
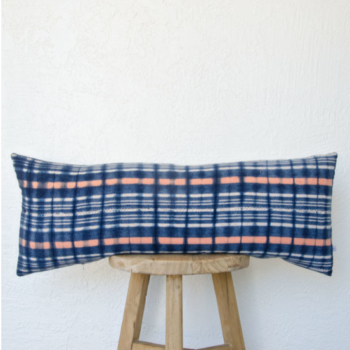
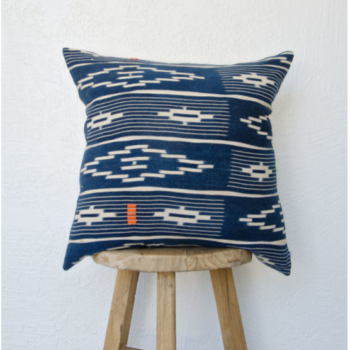
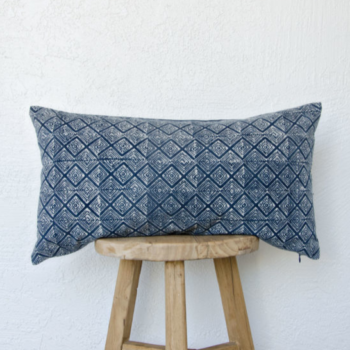
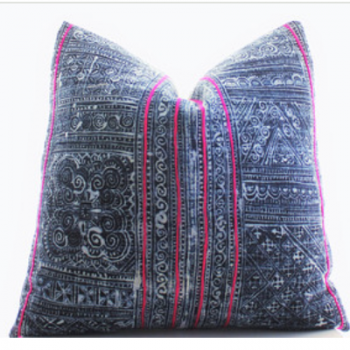
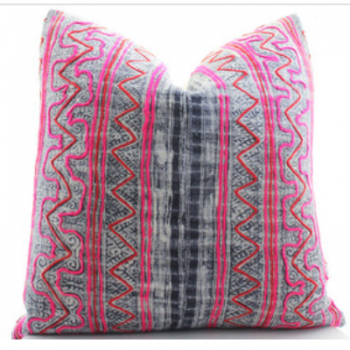
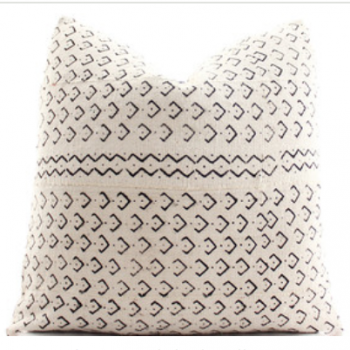
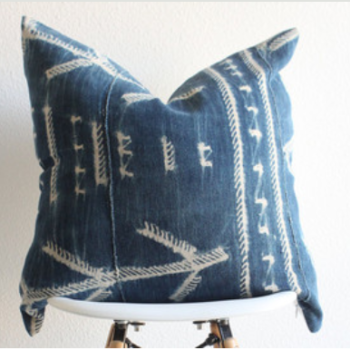
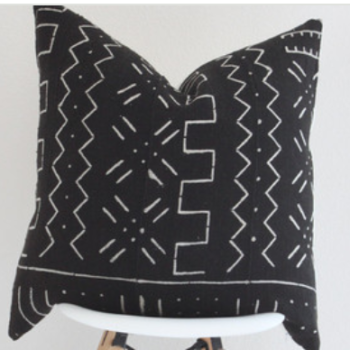
Top 5 Shops for Mudcloth + Indigo Pillows

This post may contain affiliate links, please read my disclosure policy.
top-5-small-shops-for-bohemian-pillows
Pillows from The Vintage Rug Shop.

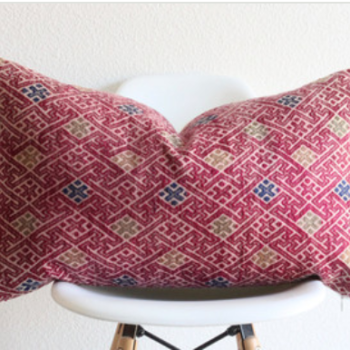
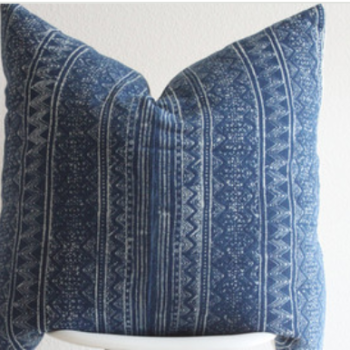
I’ve been a little pillow obsessed lately, particularly for the bohemian style all over my Instagram feed. I’m really coveting the worldly indigo, mud cloth, and shibori prints. These pillows are super trendy, so there are a lot of big brand stores selling them, but some bigger retailers can be really over priced.

For this reason, I like shopping small when I can for unique pieces. The products are generally well-made and one-of-a-kind. You can usually snag a better deal at small online shops and you get to connect with independent business owners.

I love to search for small online stores using Instagram. I find them by following designers or bloggers whose style I emulate. Like we do at Pretty Domesticated, they often tag their sources, leading me to even more creatives to be inspired by.

We’ll save you the trouble of searching. Without fourth ado, here are our top five Instagram finds for bohemian pillows.

Mae Woven
If you’re into black and white, this shop is for you. Amelia has tons of dark hued options, along with some great baskets, like this market bag, and throws. Her Instagram feed will make you want to purchase every single on of her products.

The Vintage Rug Shop
This shop is my go to for one-of-kind products, be it bohemian pillows or perfect worn vintage rugs. Brittany stocks pillows in a variety of styles and hues,  and you can be assured they are all beautiful and well made.  The owner runs not one but two beautiful Instagram feeds, and is the blogger behind BrittanyMakes. Find her on Instagram @vintagerugshop and @brittanymakes.

Boho Pillow
I recently came across Monica’s cheery and colorful Instagram and I love her style. She carries a variety of different prints, many with great pops of color. I particularly love the pops of bright pink!

Danielle Oakley Pillow Shop
Another shop with unique pillows and fun pops of color. Danielle is a designer and blogger who loves mixing color, pattern, and texture, to create unified and interesting interiors at reasonable prices. Her shop’s Instagram shows off a selection of well curated and lust worthy pillows. You can follow her design posts @danielleoakleyinteriors.

Loom Goods
For sophisticated and worldly pillows check out Loom Goods. Although the colors of the pillows they stock are mostly black and white, their style makes a big impact.  The owners, Karyn & ashly’s Instagram is just as classic as their pillow.

Have you ever found a store you love on Instagram or social media? Share your favorite finds below.

[wc_social_icons align=”left” size=”large” display=”facebook,google,twitter,pinterest,instagram,bloglovin,flickr,rss,email,custom1,custom2,custom3,custom4,custom5″]


share your moments
#prettydomesticated
follow along
@prettydomesticated